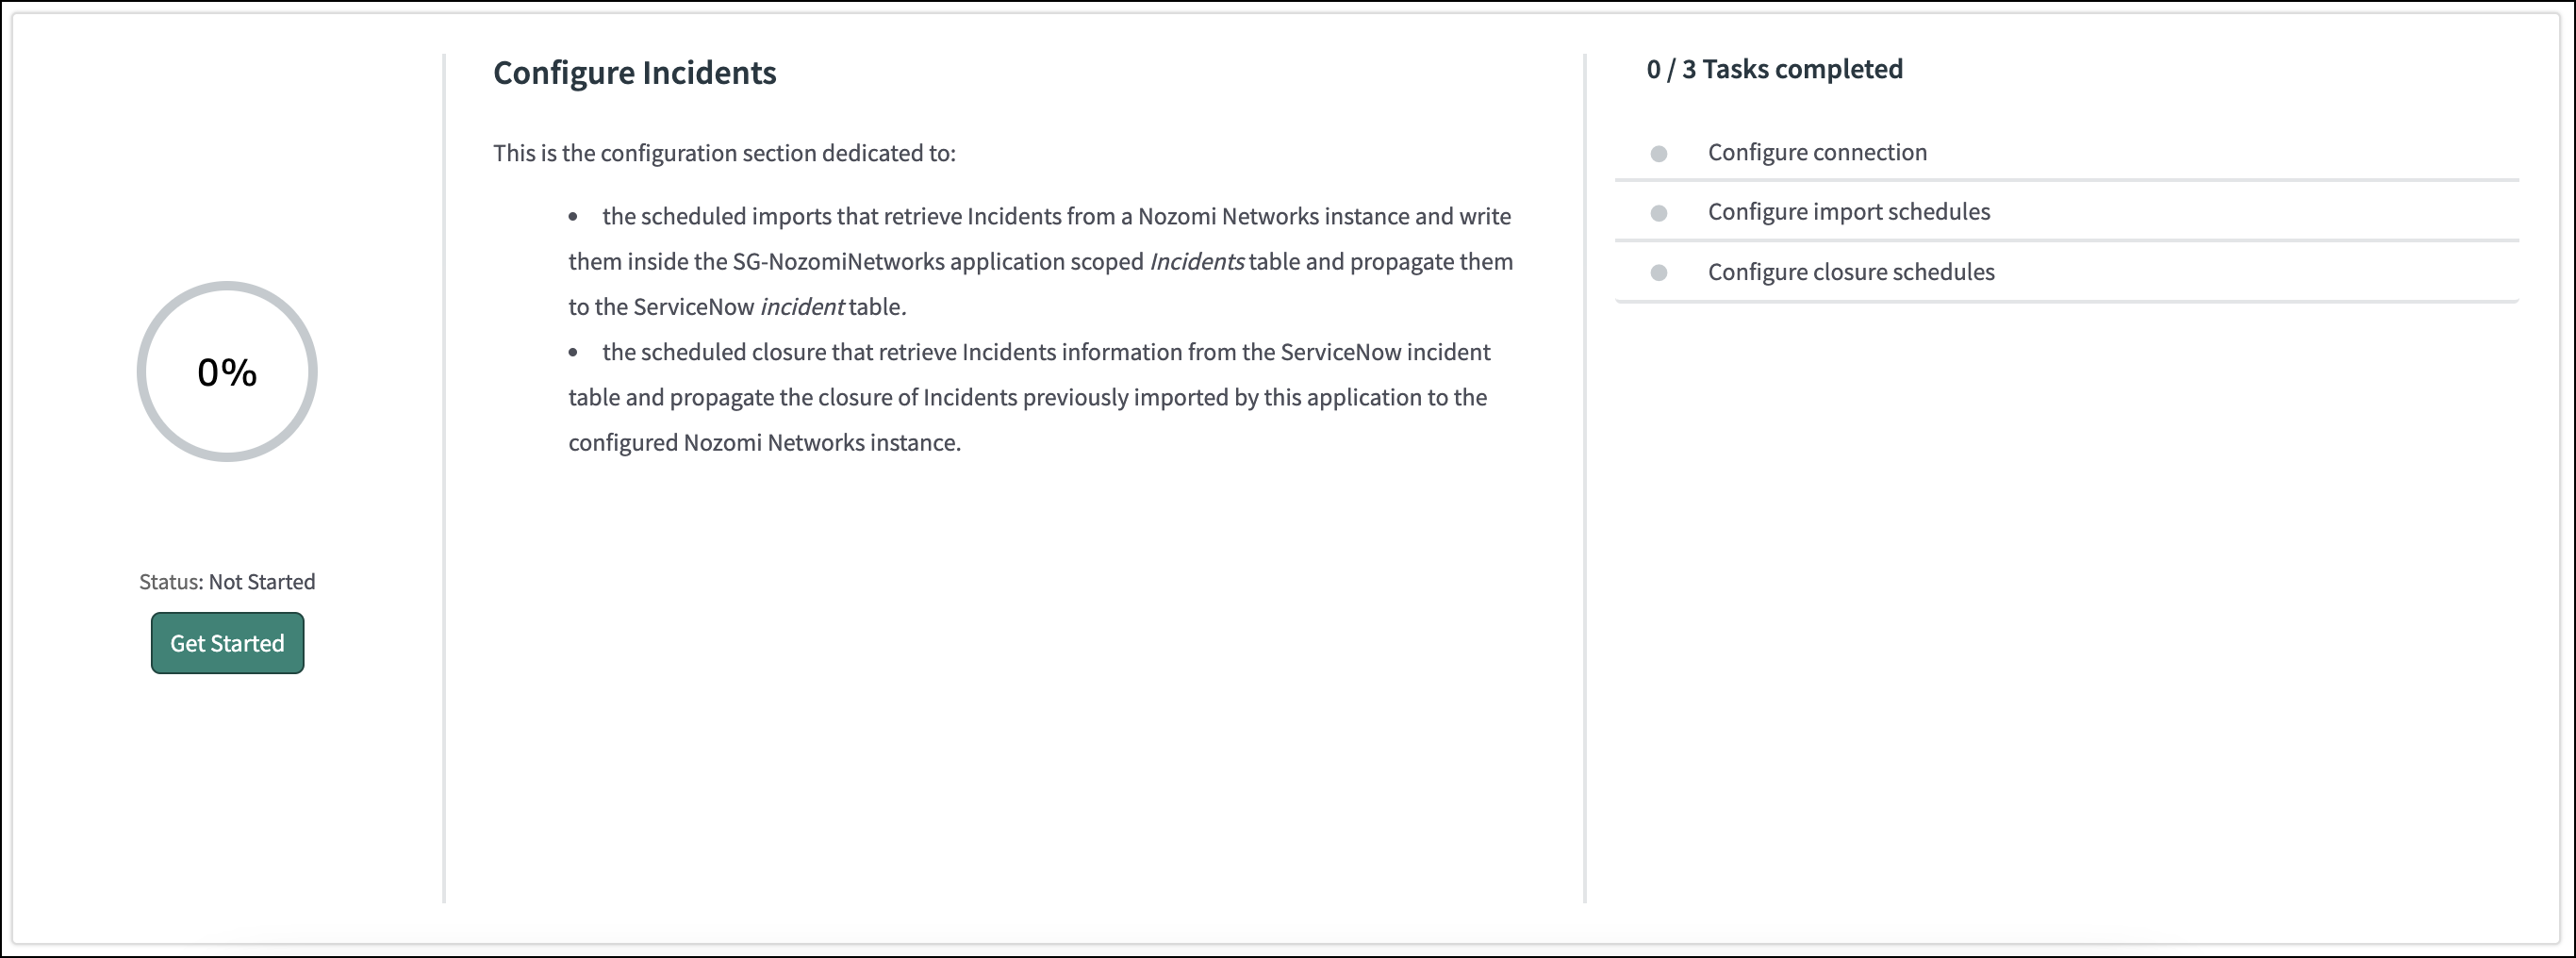
Configure incidents import
Explore the step-by-step process of configuring incident imports within the Service Graph Connector for Nozomi application. This procedure covers connection setup, validation, schedule configuration, and manual execution, to ensure seamless integration and management of incident data for enhanced operational efficiency.
Procedure
-
In the Configure Incidents section, select Get
Started.
- Select Configure connection.
-
In Configure The Nozomi Connection & Credentials,
select Configure.
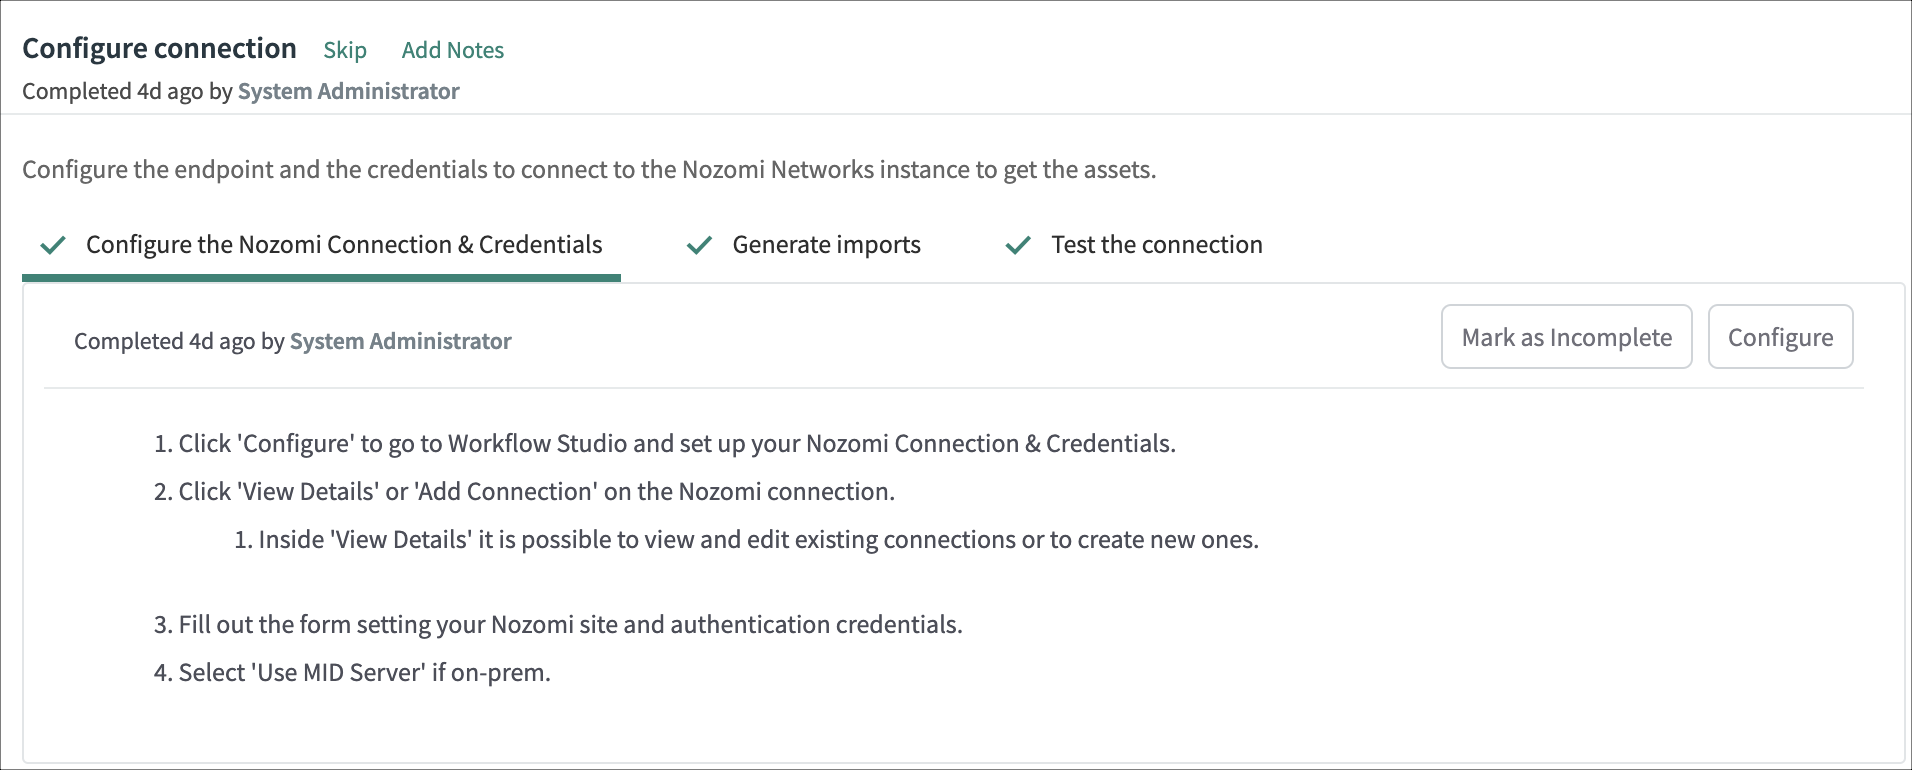
A new tab opens. -
If your ServiceNow instance have been updated to Washington, do these extra
steps:
-
When Workflow studio opens in a new page, select
Integrations.

-
In the search field, search for Nozomi.
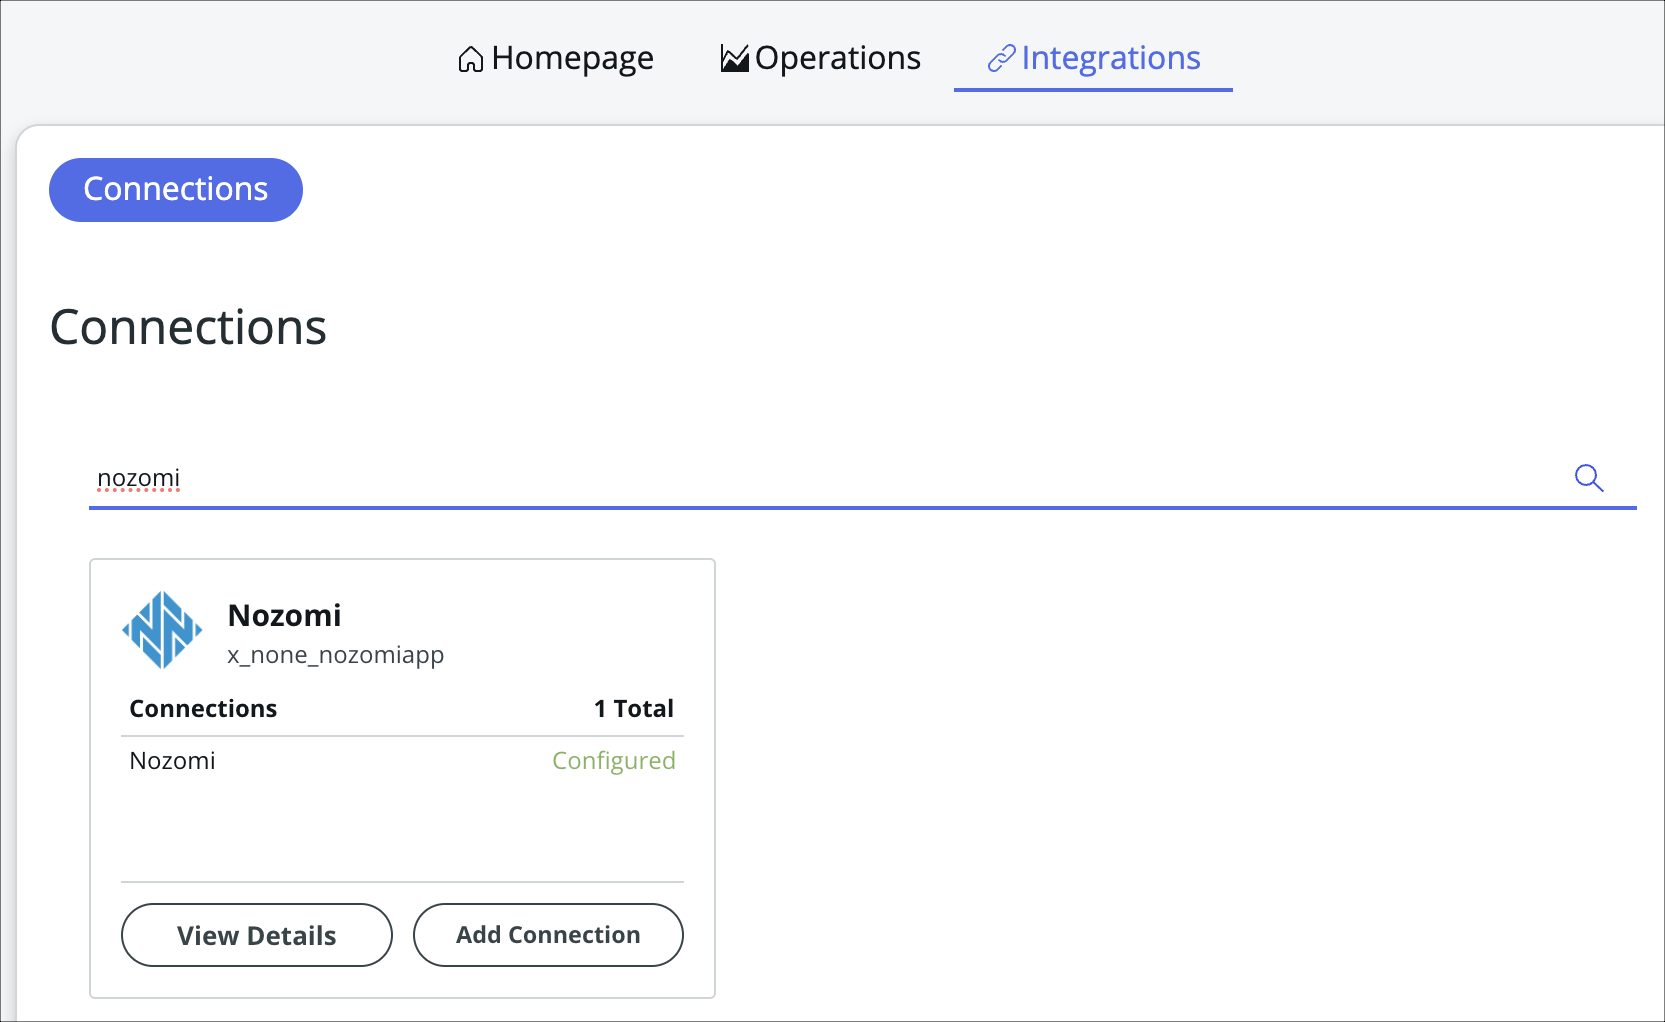
-
When Workflow studio opens in a new page, select
Integrations.
- Select Add Connection.
-
Enter your site information.
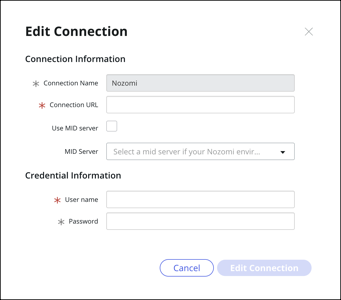
- Select Configure.
- On the Custom UI page, review each connection that you just created. If necessary, change the details for names.
- For each connection, select Generate.
-
If the connection is successful, a blue checkmark shows next to the connection
name.
You can update these values to make changes in the future. - Select Mark as Complete.
- Go back to the guided setup.
- Select Test the connection.
-
Select Configure.
For each connection there should be one Service Graph Connection.
- Open each Service Graph Connection.
- To test the connection, select Test Connection.
- Go back to the guided setup, select Mark as Complete.
-
Select Configure schedules.
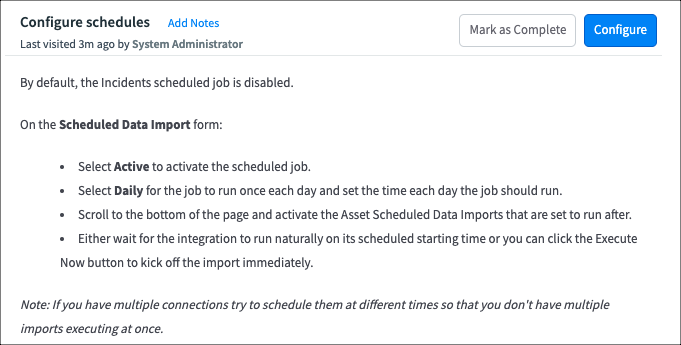
- Select Configure.
-
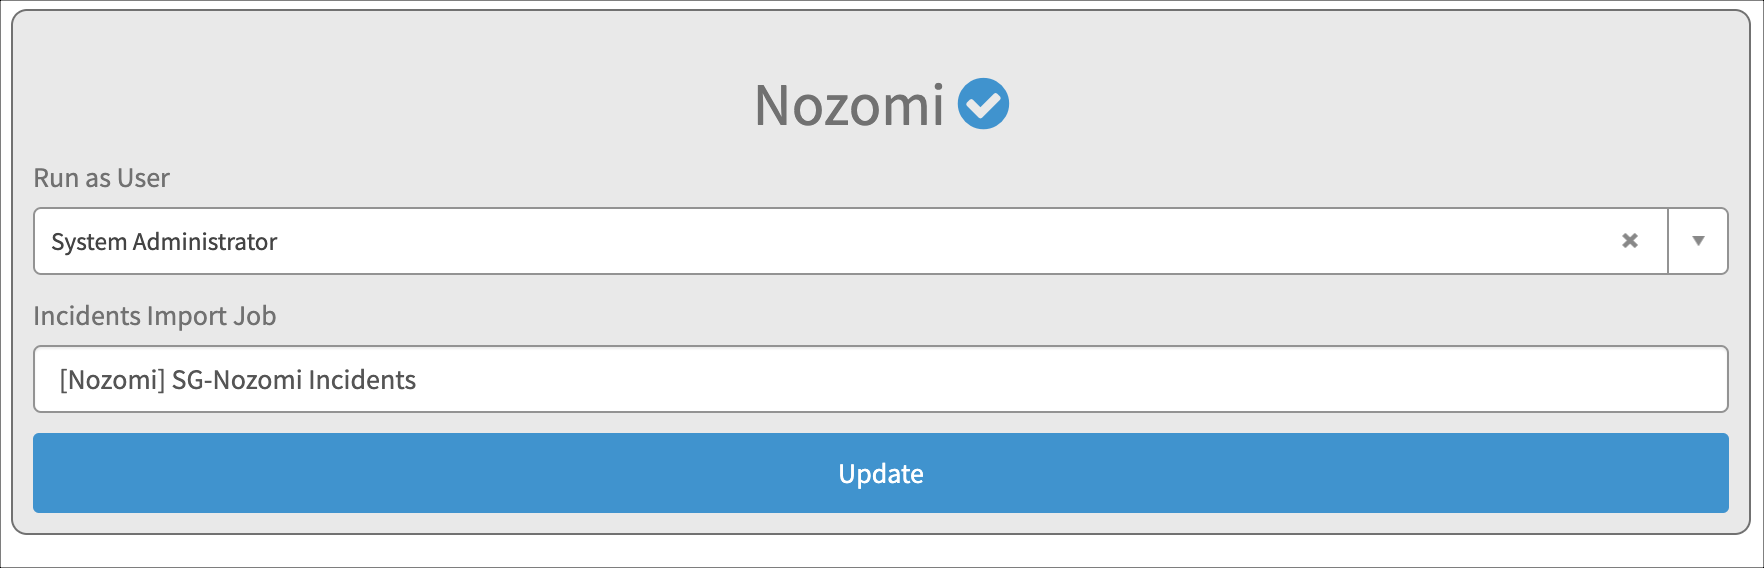
Open each incident import scheduled job.

- The run as user should be set based on what you selected during the Generate imports step.
-
Select the Active checkbox, and adjust the runtime
frequency.

- Once you have completed configuring all the jobs, you can either wait for the scheduled job to run, or you can select Execute Now to manually execute the job on the Incidents Scheduled Data Import Job.
- Go back to the guided setup and select Mark as Complete.
-
Select Configure closure schedules.
Note:This option is only available in Vantage, or Nozomi Networks Operating System (N2OS) 24.4.0, or higher.
-
Select Configure.
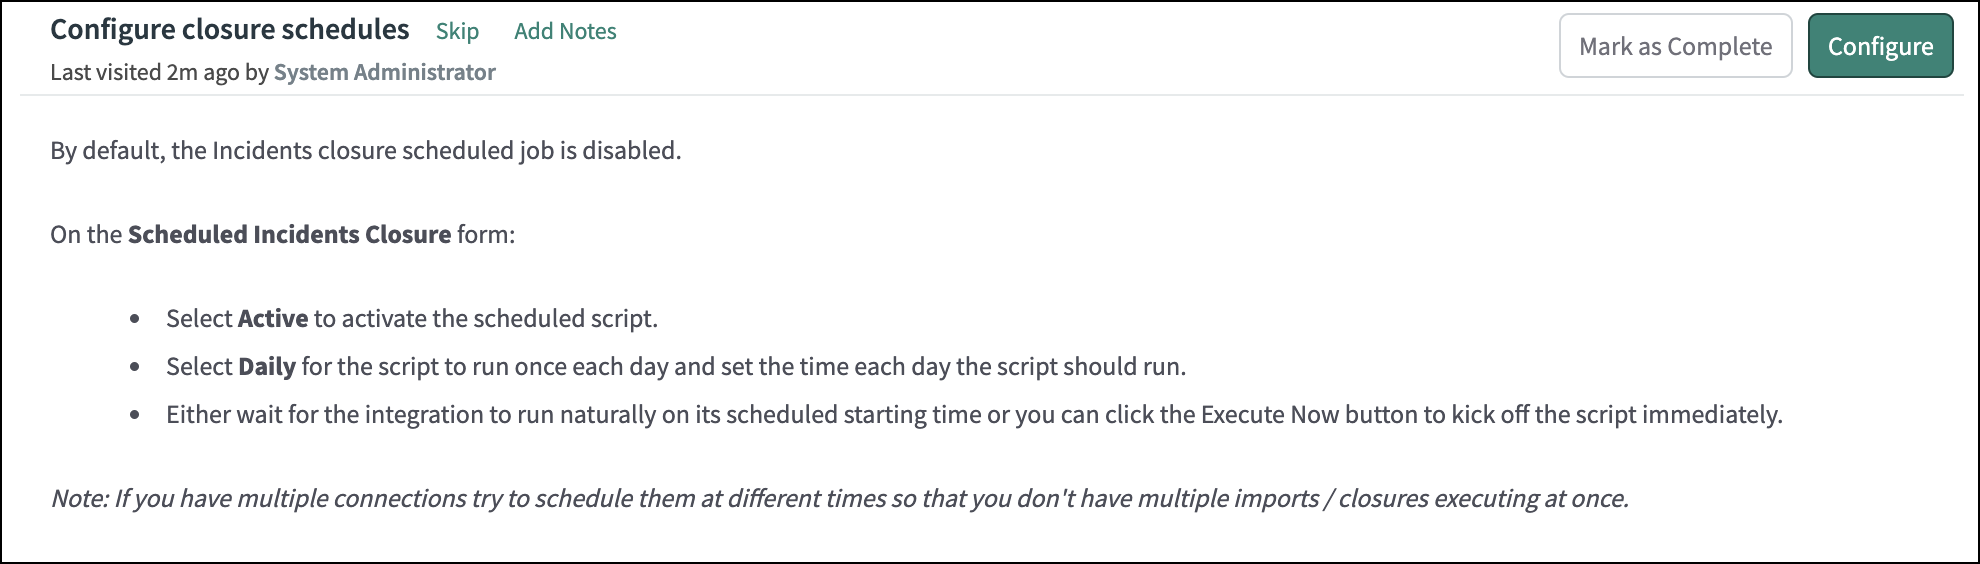
-
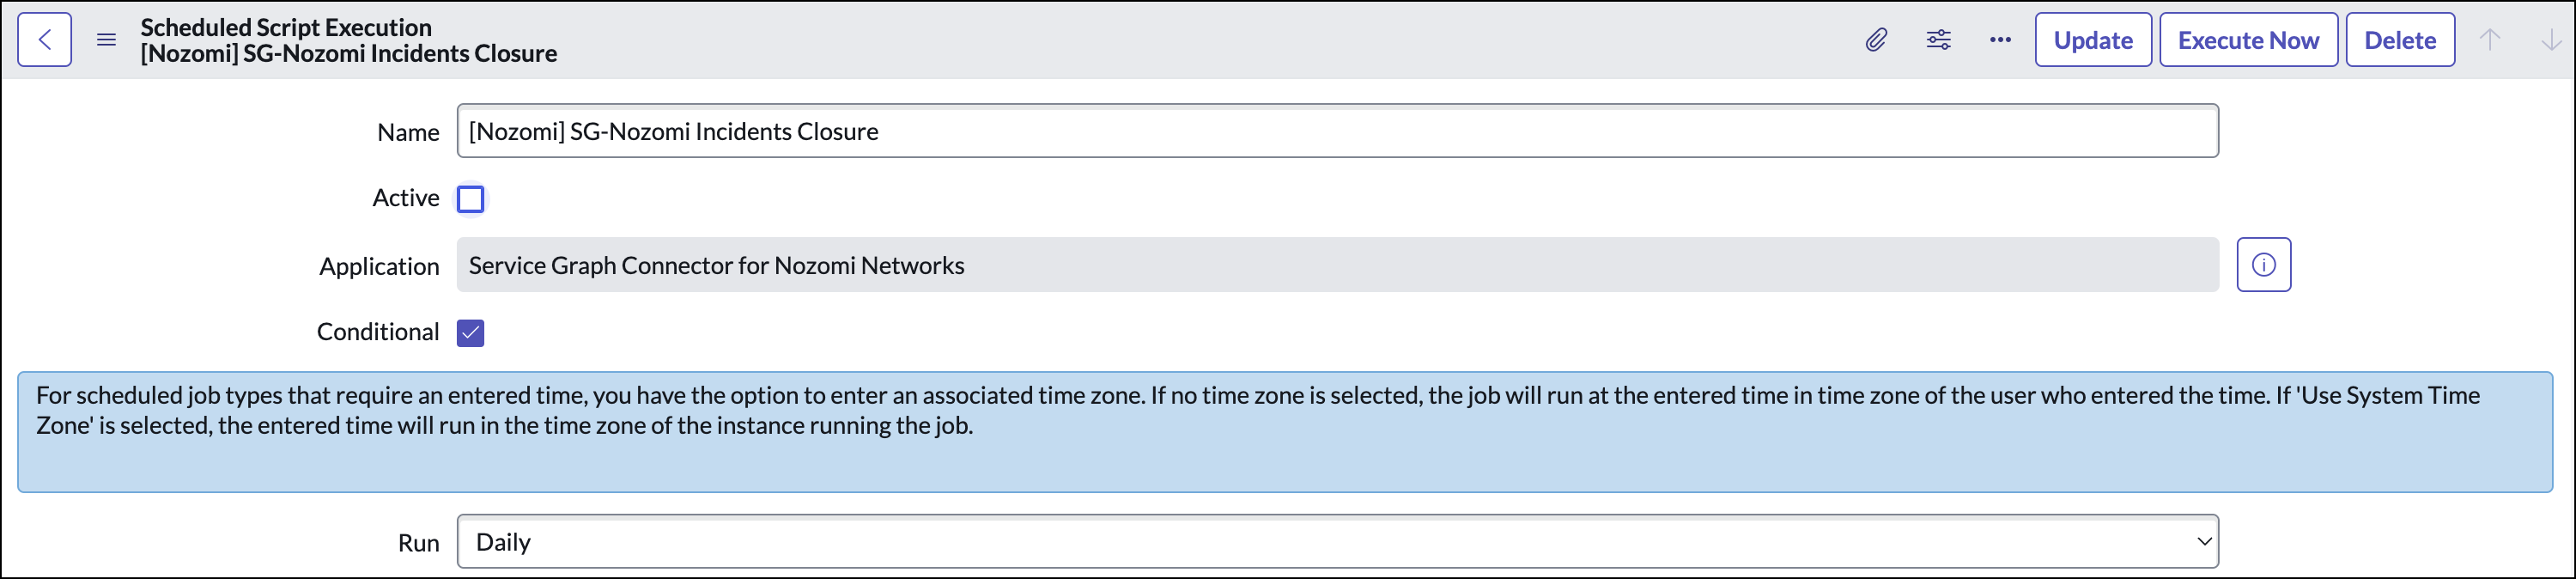
Open each scheduled script execution.

-
Select Active, and modify the runtime frequency.
-
Once you have completed the configuration of all the jobs, you can:
- Wait for the scheduled job to run, or
- Select Execute Now to manually execute the job on the Incidents Closure Scheduled Script Execution