Configure assets import
Discover the detailed process of configuring asset imports within the Service Graph Connector application. This includes setting up connections, validating sensors, configuring schedules, and executing data imports, to ensure seamless integration and data synchronization for efficient network asset management.
Procedure
-
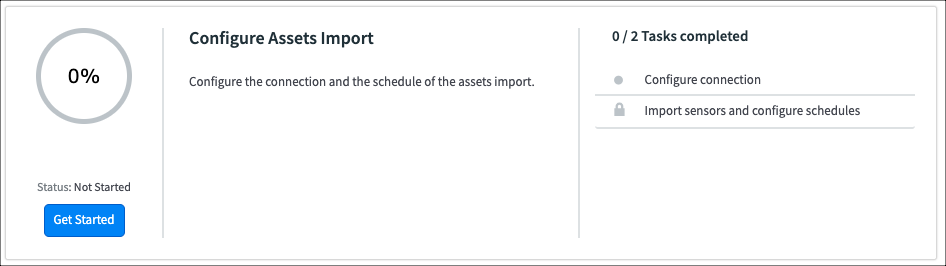
In the Configure Assets Import section, select
Get Started.
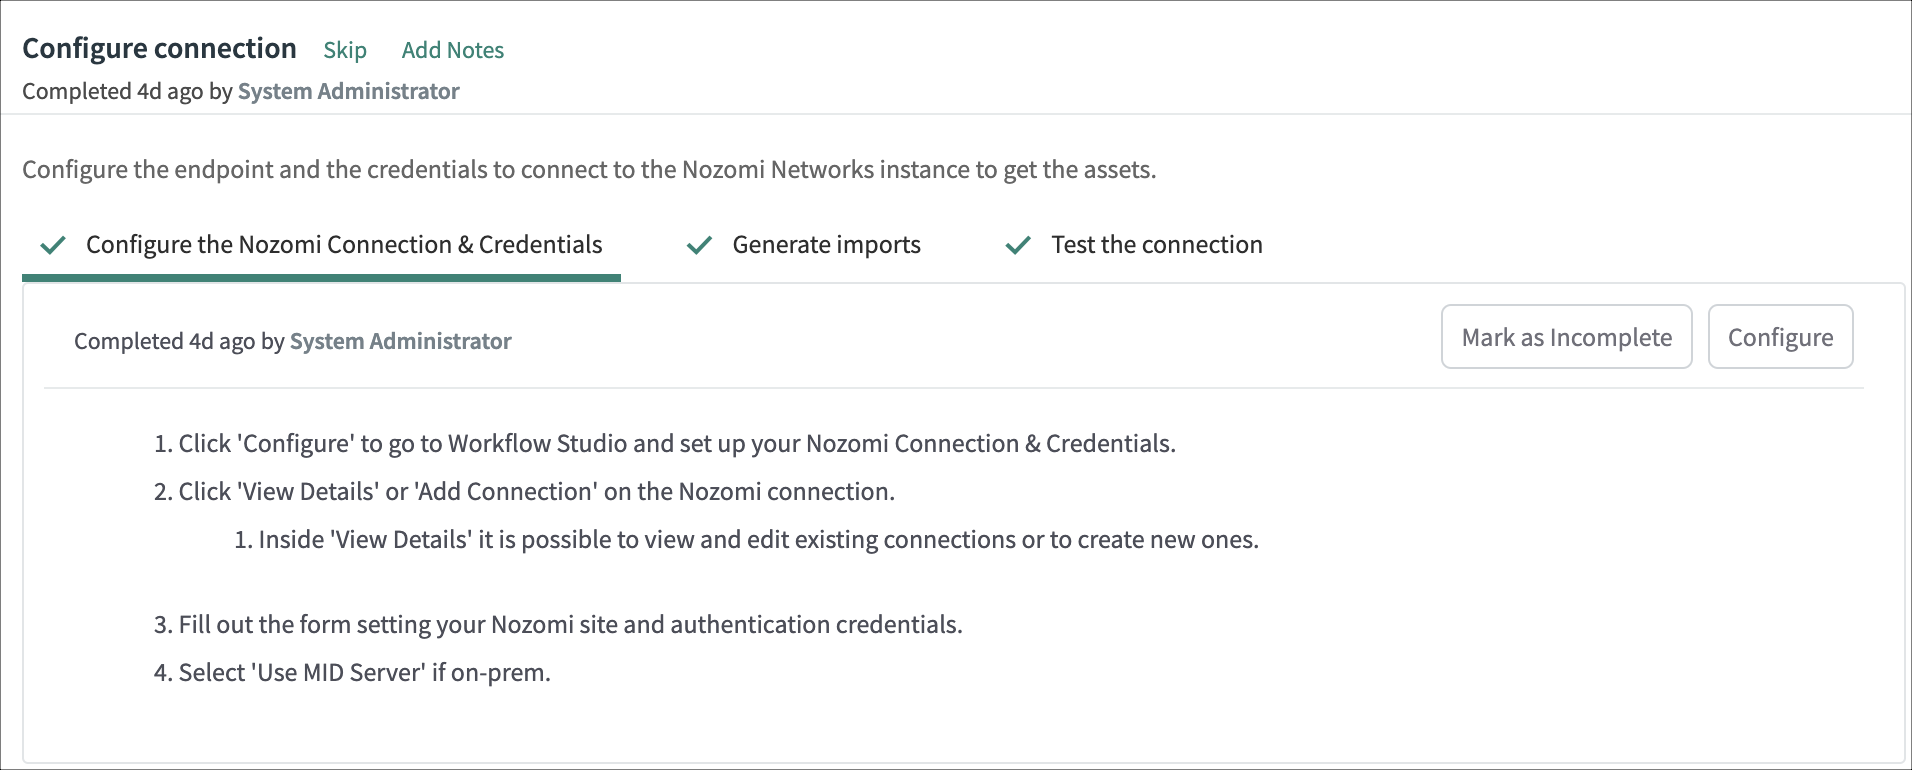
- Select Configure connection
-
In Configure The Nozomi Connection & Credentials,
select Configure.
A new tab opens. -
If your ServiceNow instance have been updated to Washington, do these extra
steps:
-
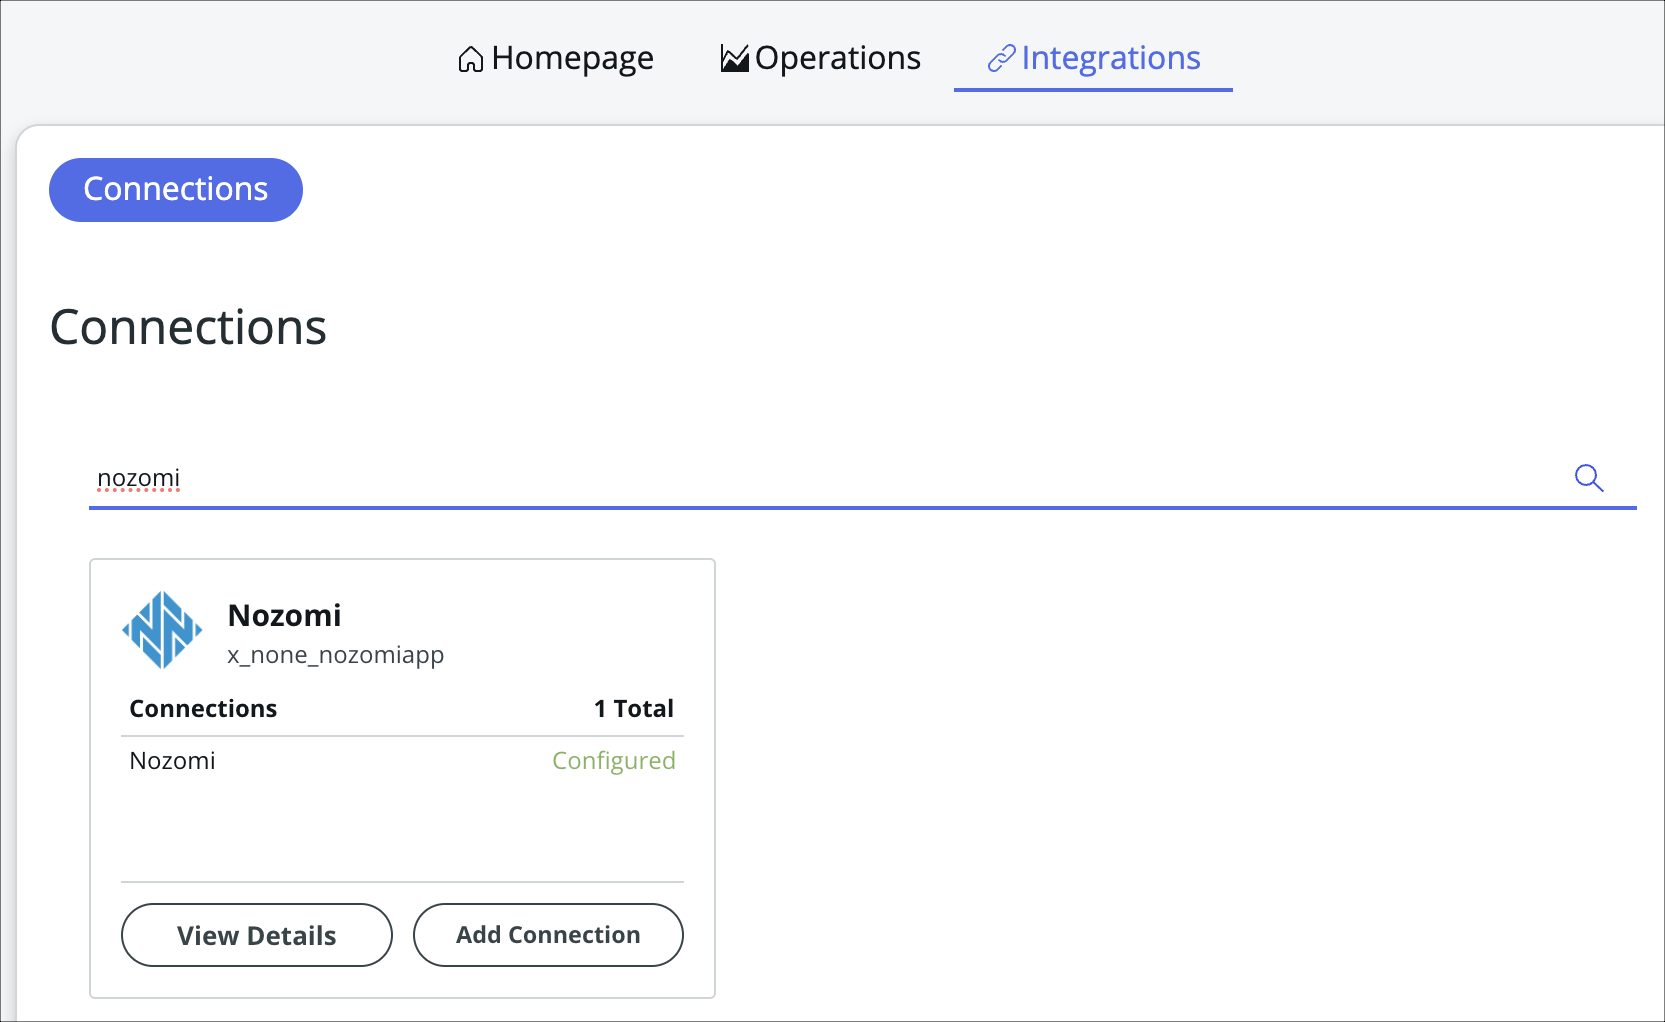
When Workflow studio opens in a new page, select
Integrations.

-
In the search field, search for Nozomi.
-
When Workflow studio opens in a new page, select
Integrations.
- Select Add Connection.
-
Enter your site information.
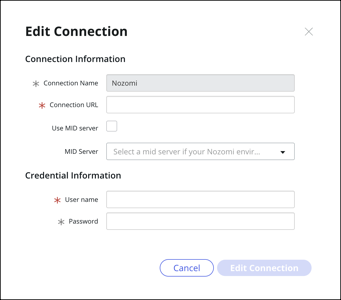
- Optional:
If necessary, select Use MID server.
Central Management Console (CMC): Use the username and password for the local user accountVantage: Use an application programming interface (API) Key Name and API Key Token for User name and Password, respectively. For more details on how to generate an API key, see the Vantage documentation.
- If you have other Nozomi Networks instances that you would like to connect to, add additional connections.
- Go back to the Configure connections section in the guided setup, and select Mark as Complete.
- In the Configure connections section, select Generate imports.
-
Select Configure.
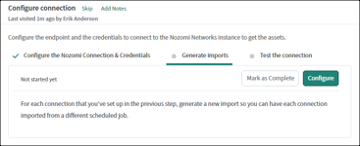
- On the Custom UI page, review each connection that you just created. If necessary, change the details for names.
-
For each connection, select Generate.
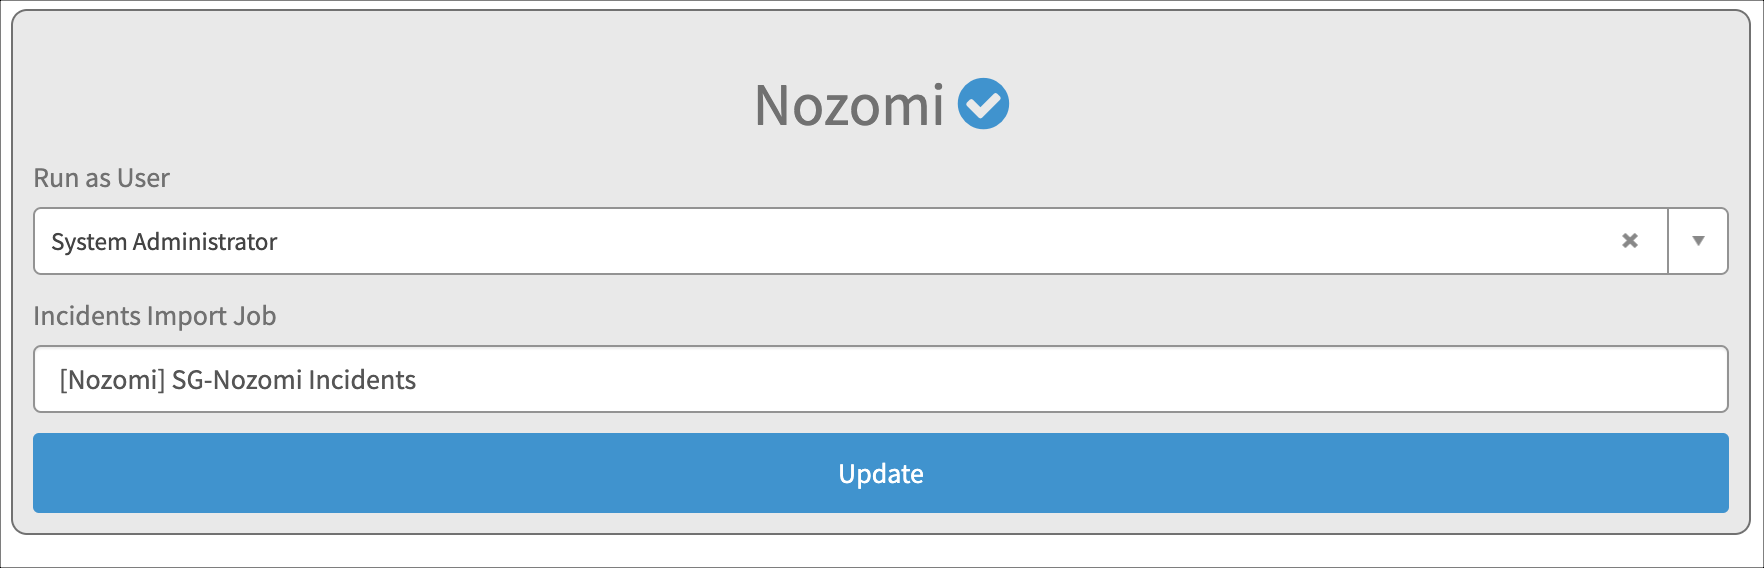
-
If the connection is successful, a blue checkmark shows next to the connection
name.
You can update these values to make changes in the future.
- Select Mark as Complete.
- Go back to the guided setup.
- Select Test the connection.
-
Select Configure.
For each connection there should be one Service Graph Connection.
- Open each Service Graph Connection.
- To test the connection, select Test Connection.
- Go back to the guided setup, select Mark as Complete.
- Select Import sensors and configure schedules.
-
Select Import sensors.
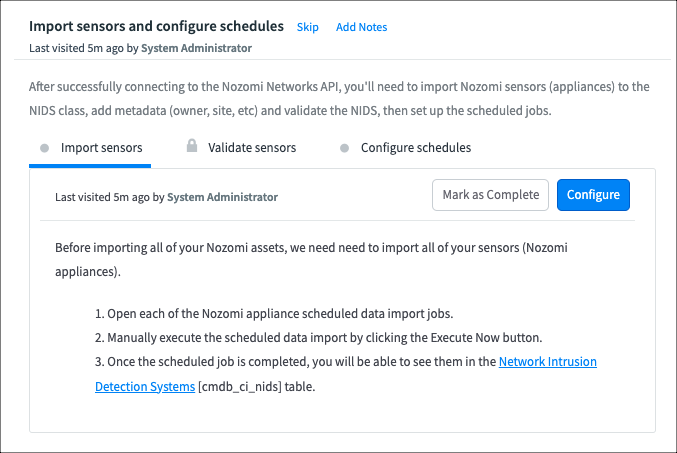
- Select Configure.
-
For each connection there should be one scheduled data import related to
Appliances, select it.

-
To manually execute the scheduled data import, select Execute
Now.

Note:You can also select Execute Full Import which will force a full import of Nozomi Networks data, regardless of the last import execution time. - Go back to the guided setup and select Mark as Complete.
-
Select Validate sensors.
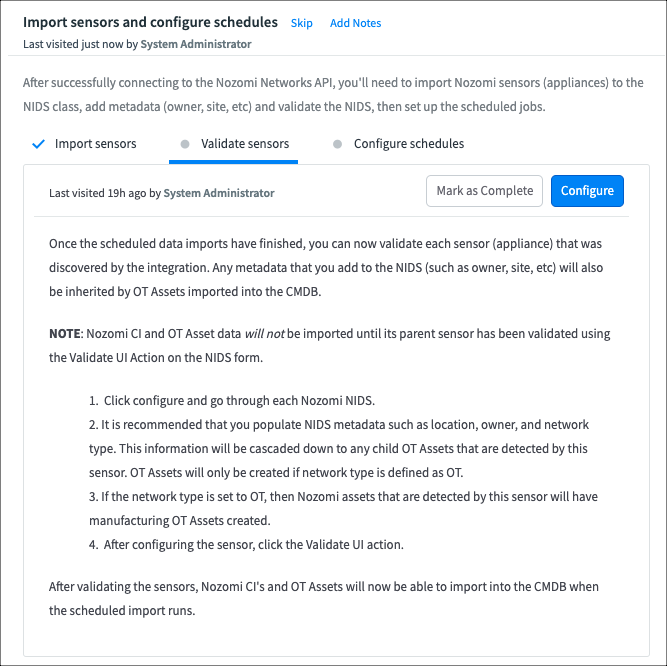
- Select Configure.
-
It will open the Network Intrusion Detection Systems (NIDS) showing all the appliances
the integration has discovered.

Here is where you can also configure the assignment site and all metadata. -
Once you have completed the configuration, select
Validate on the related link at the bottom of the
form.
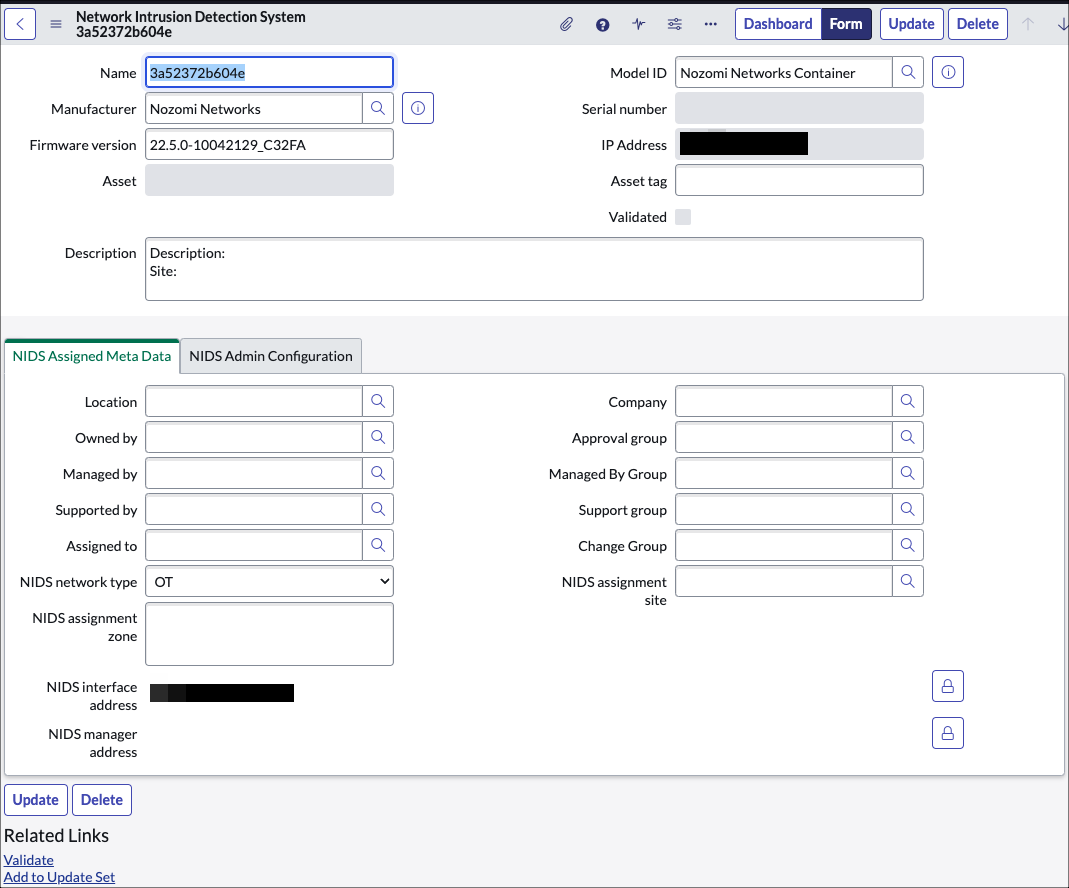
- After all the NIDS have been validated, select Mark as Complete.
-
Select Configure schedules and select
Configure.
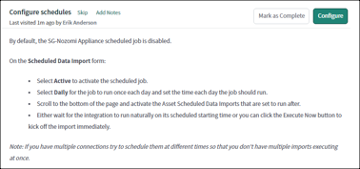
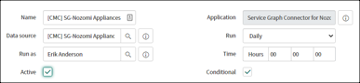
- Open each appliance import scheduled job.
- The run as user should be set based on what you selected during the Generate imports step.
-
Set the Active checkbox to true and adjust the runtime frequency.
-
Scroll to the bottom of the form and confirm that the Assets import job is
listed child job. Set this job to active as well.
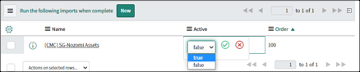
-
Once you have completed configuring all the jobs, you can either wait for the
scheduled job to run, or you can select Execute Now to
manually execute the job on the Appliance Scheduled Data Import
Job.
Note:You can also select Execute Full Import, which will force a full import of Nozomi Networks data, regardless of the last import execution time.