Configure a BPF filter
The Network interfaces page lets you configure Berkeley Packet Filters (BPF).
Procedure
-
In the top navigation bar, select
 The administration page opens.
 -
In the System section, select Network
interfaces.
The Network interfaces page opens.
-
To the left of the applicable interface, select the
 icon.
A dialog shows.
icon.
A dialog shows. -
In the Label field, enter a label for the interface.
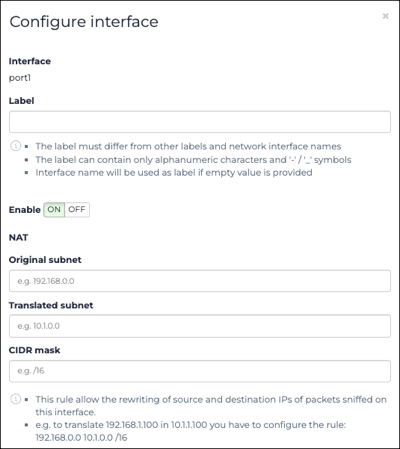
Note:The label will show instead of the network interface name in all areas of the user interface. - Optional: To disable the network interface from sniffing traffic, select the toggle to OFF.
- In the BPF filter section, choose a method to use to configure the Berkeley Packet Filter (BPF) settings.
-
Use the visual editor.
-
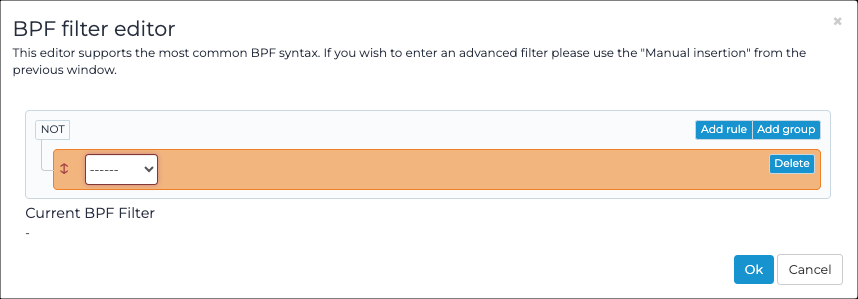
Select BPF filter editor.

A dialog shows. -
Edit the settings as necessary.
-
Select BPF filter editor.
-
Manually enter a BPF.
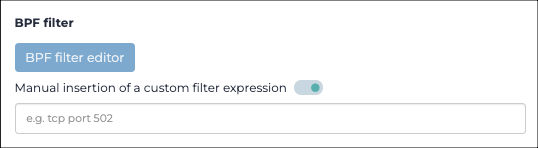
- Set the Manual insertion of a custom expression toggle to on.
- Manually enter the BPF.
- Select Save.