Configure a dashboard
Once a dashboard has been created, you can configure it.
Procedure
-
Choose a method.
- Create a dashboard
- Select a dashboard
- On the homepage after you log in. In the top right section of the
dashboard, select the
 icon.
icon.
- Optional:
In the top right section, select + Add row.
A new row shows.
-
In the top right section, select + Add widget.
A list shows.
-
From the list, select one, or more widgets to add.
The widgets are added to the row.
-
Select somewhere on the screen other than the list.
The list closes.
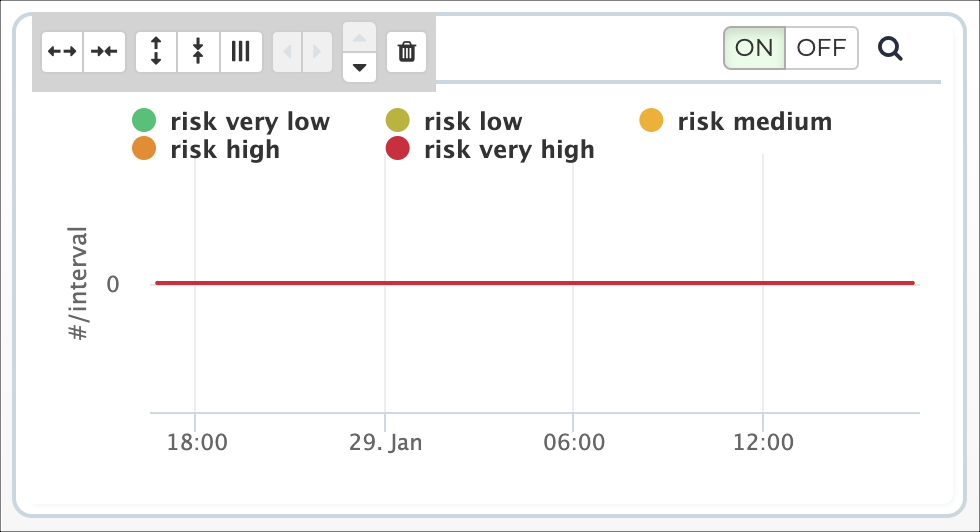
- Optional:
If necessary, configure the widget.
-
To increase the width of the widget, select

-
To decrease the width of the widget, select

-
To increase the height of the widget, select

-
To decrease the height of the widget, select

-
To adjust the height of all of the widgets in the same row, select

-
To move the widget to the left, select

-
To move the widget to the right, select

-
To move the widget up to the row above, select

-
To move the widget down to the row below, select

-
To delete the widget, select

-
To increase the width of the widget, select
- Select Save.