Deploy Arc with Microsoft Endpoint Configuration Manager
If you manage your network with Microsoft Endpoint Manager, you can use it to deploy Arc.
Before you begin
- Downloaded the correct Arc package for your operating system (OS)
- Compiled the Microsoft Software Installer (MSI) file
Procedure
-
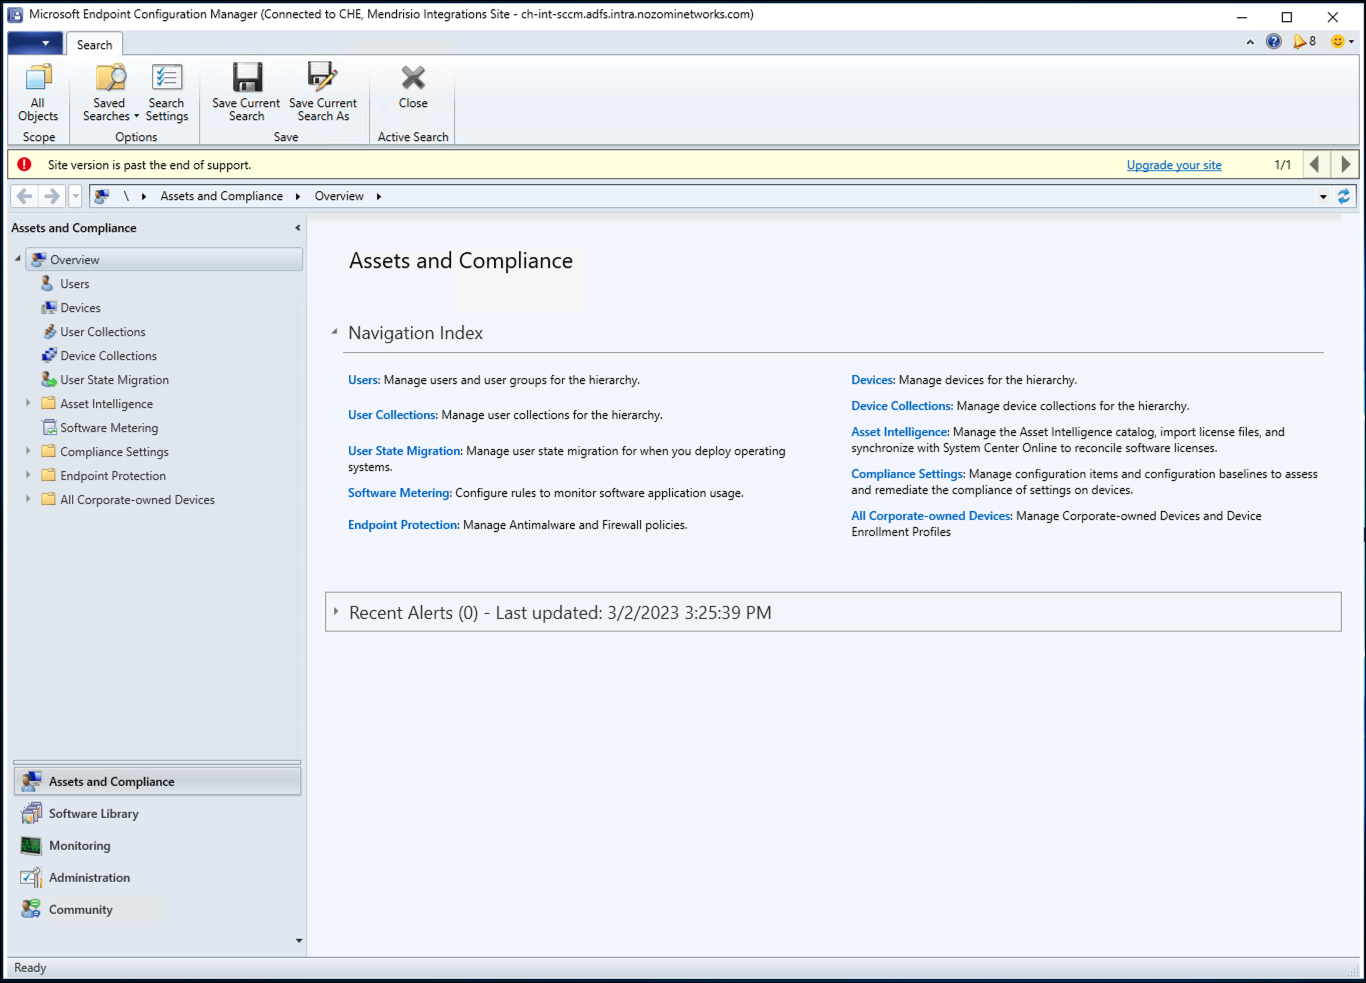
Open Microsoft Endpoint Configuration Manager.
-
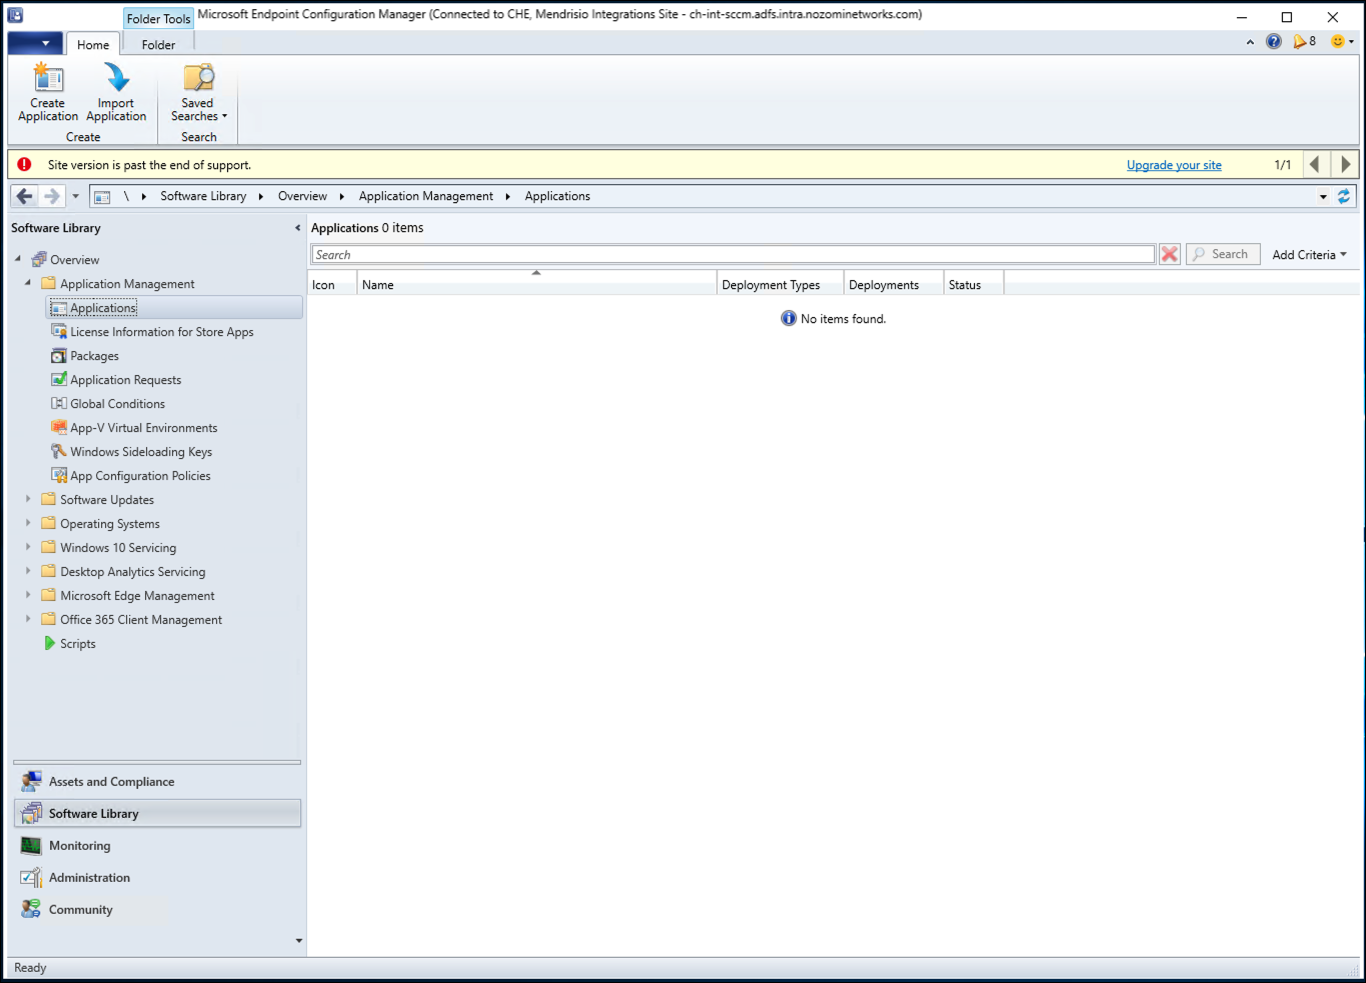
Go to .
-
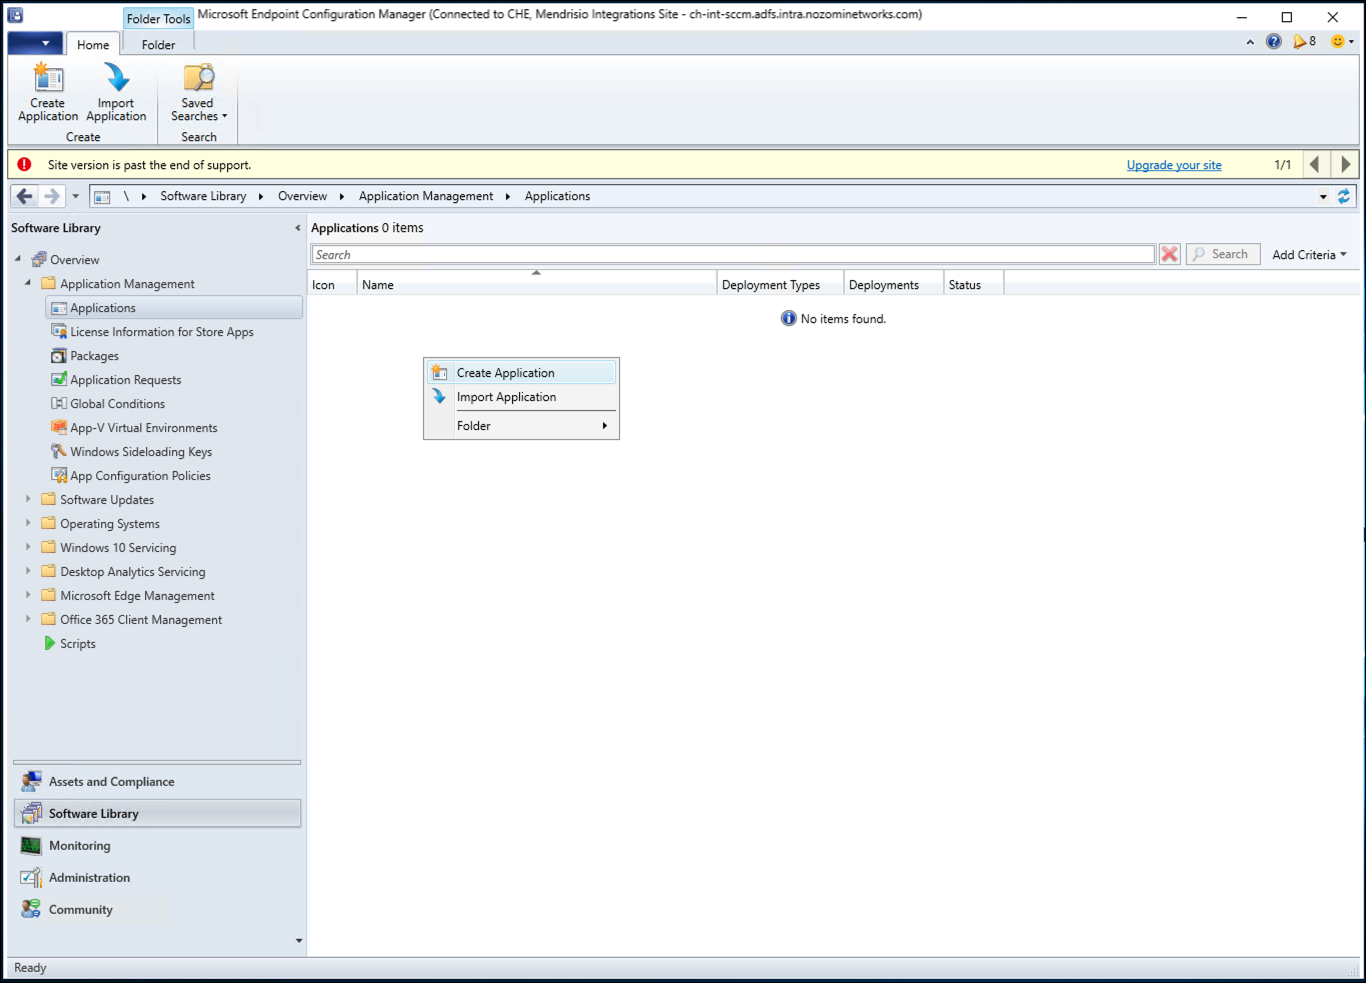
Right-click and select Create Application.
-
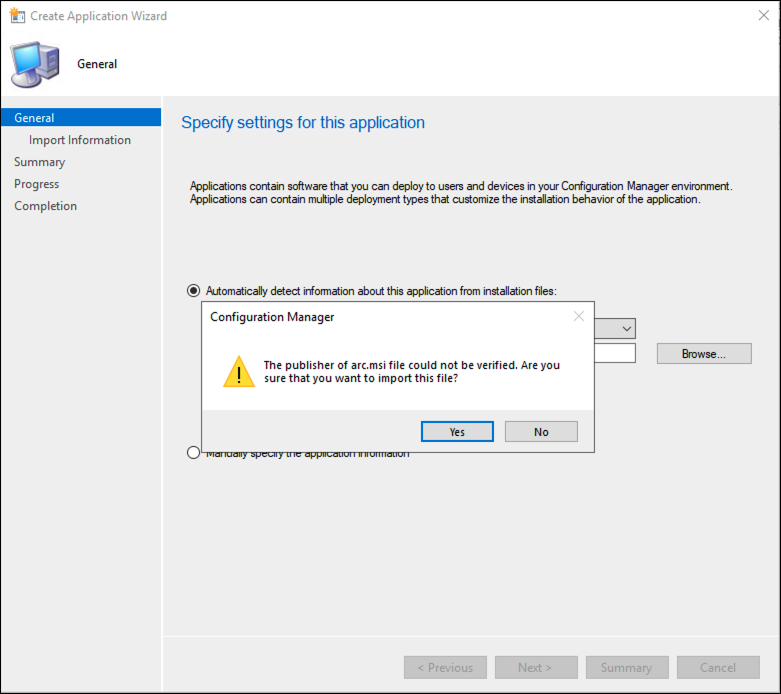
Browse and select the location of the MSI file,
and then select Next.
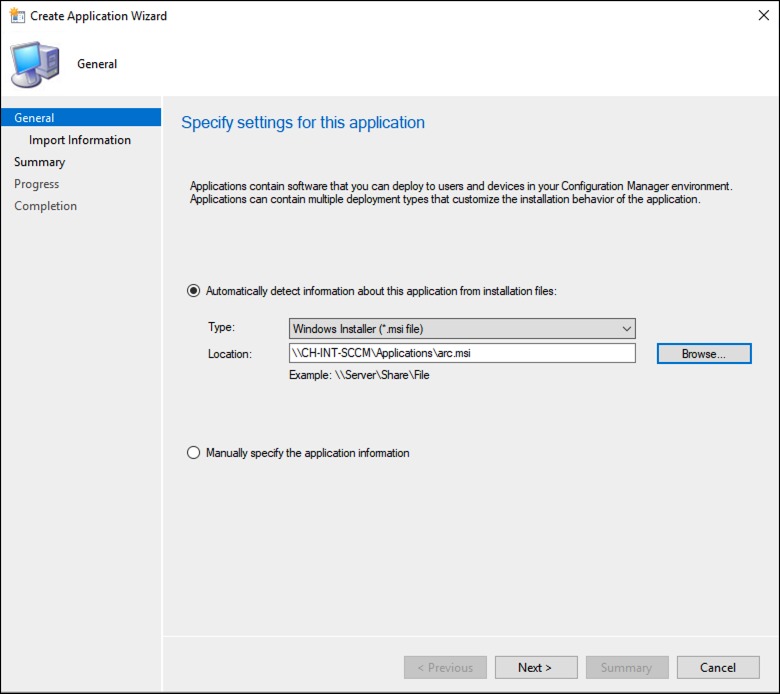
A dialog shows. -
To confirm the import of the package, select Yes.
-
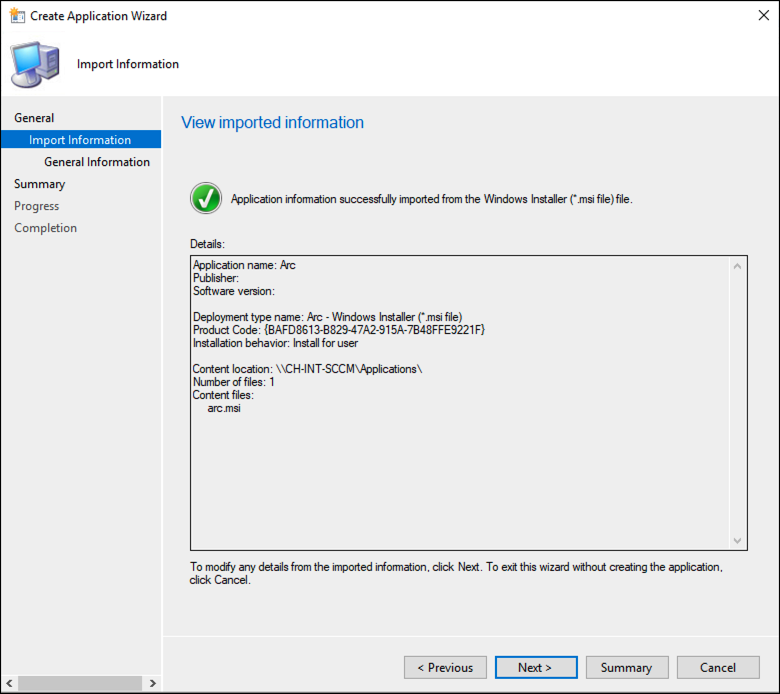
Make sure that the file has been imported successfully, and then select
Next.
-
On the General Information page, enter details in the
fields as necessary. Select Next.

-
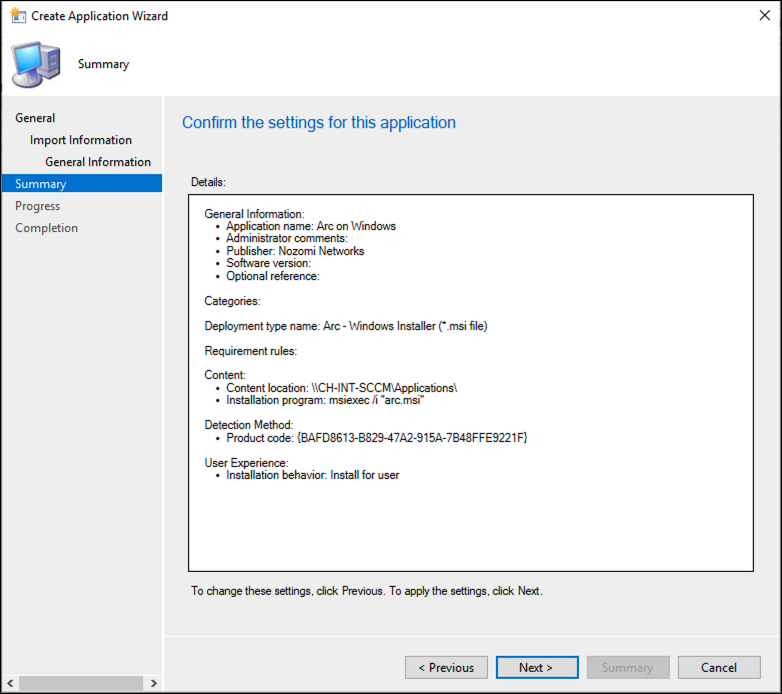
Review the settings, and then select Next.
-
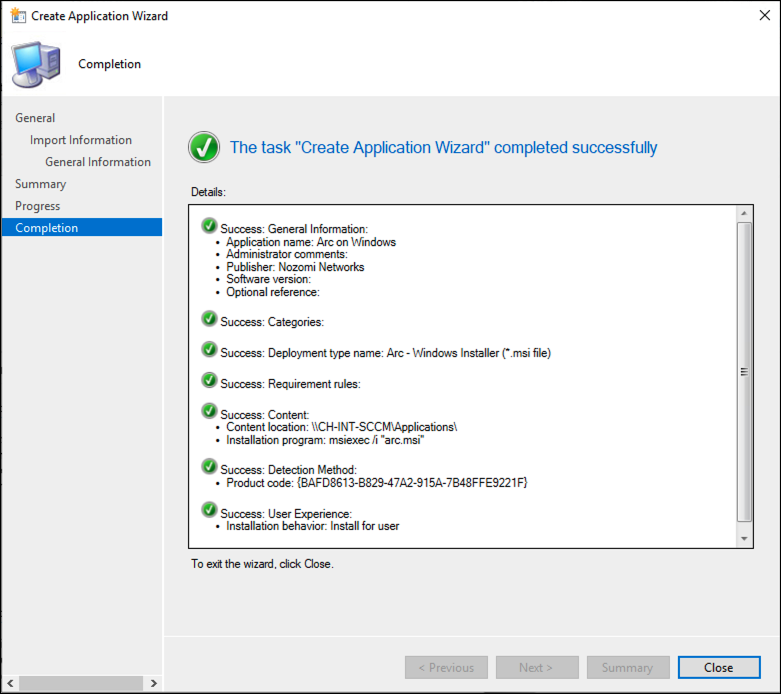
Make sure that the application has been created successfully, and then select
Close.
-
Right-click on the application and select Deploy.
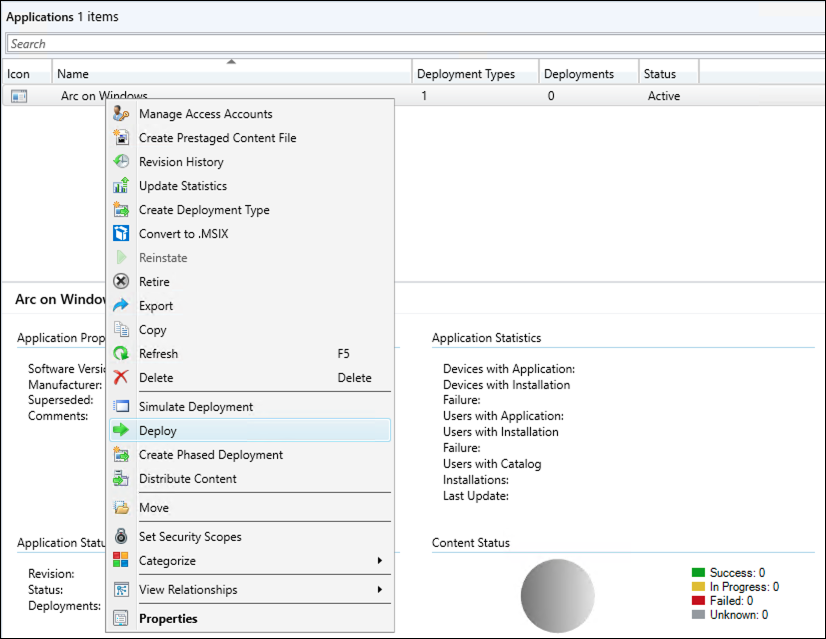
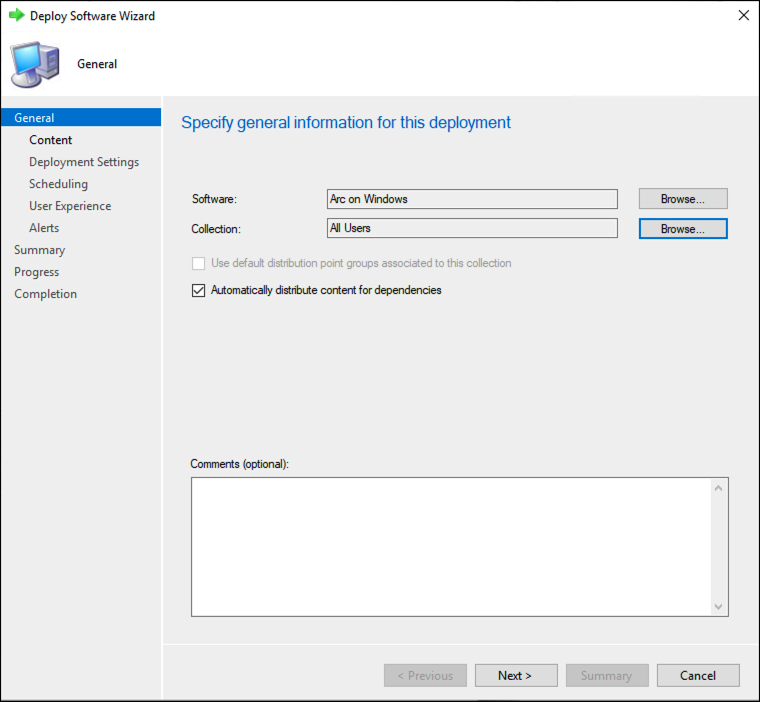
The Deploy Software Wizard shows. -
On the General page, open the
Collection dropdown and choose the type of deployment.
Select Next.
-
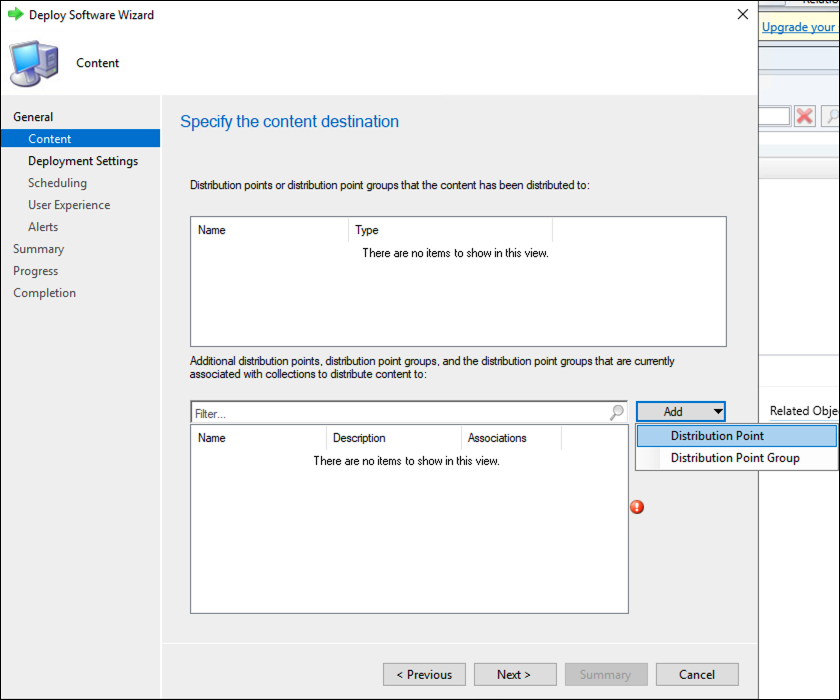
On the Content page, open the Add
dropdown and select the type of distribution. Select
Next.
-
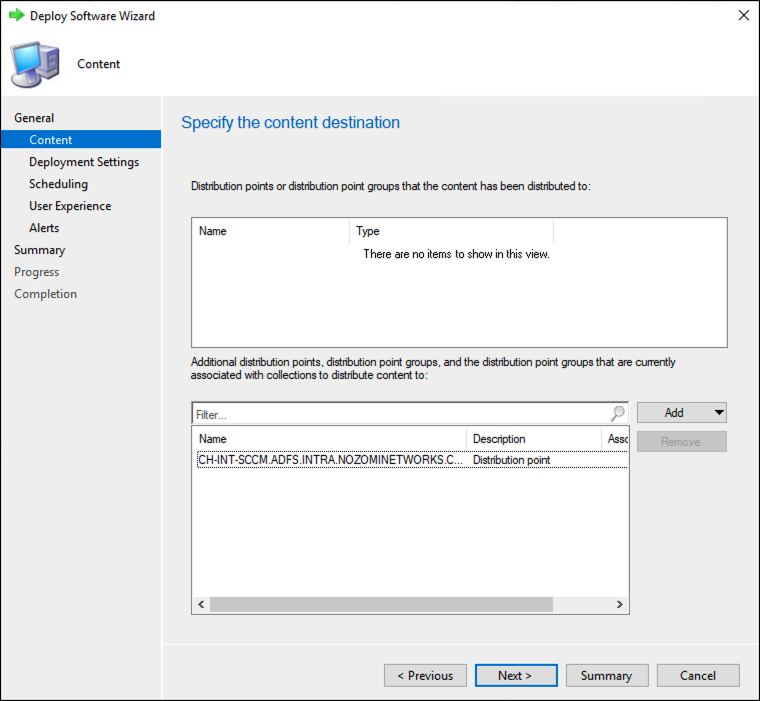
Make sure that the distribution point shows in the list, and select
Next.
-
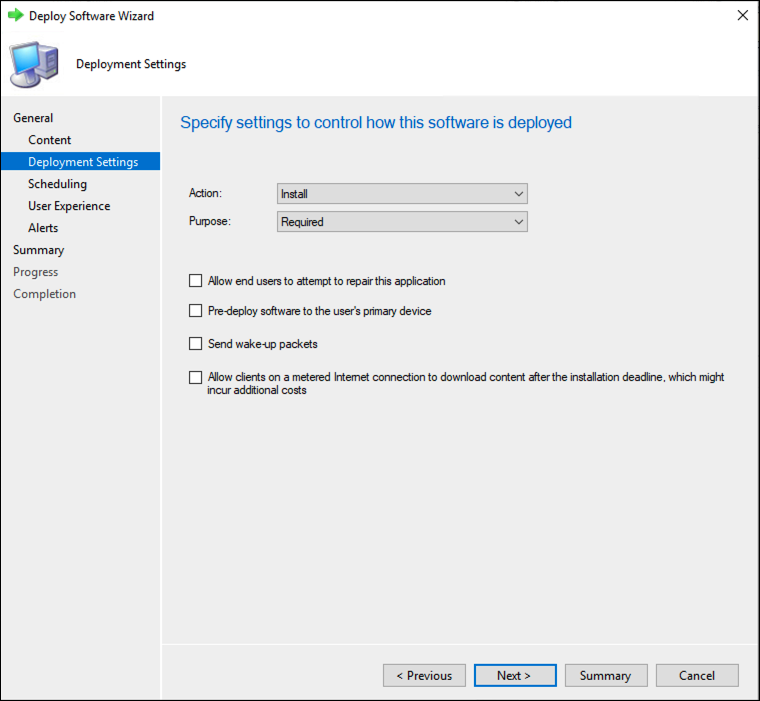
On the Deployment Settings page, open the
Purpose dropdown and select
Required. Select Next.
-
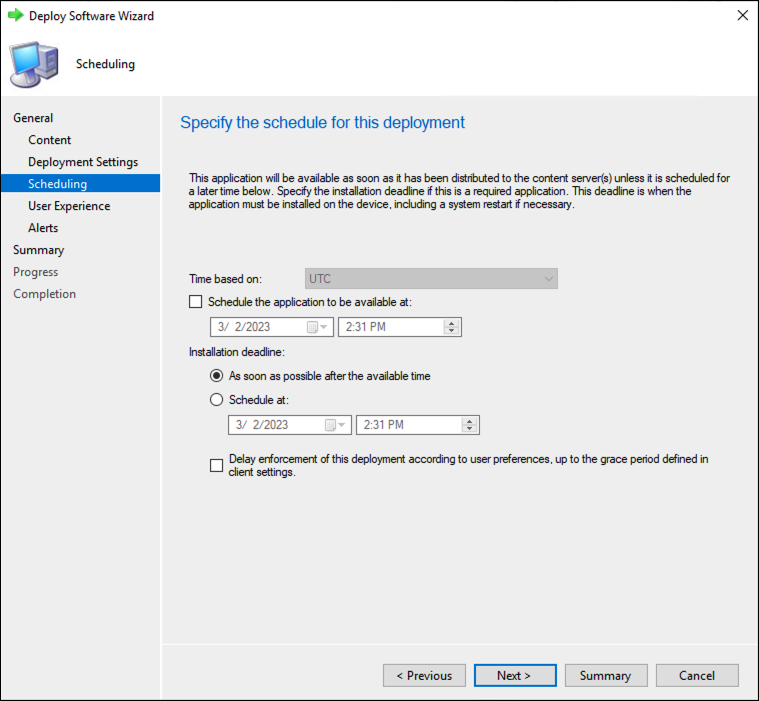
On the Scheduling page, set the desired schedule settings,
and then select Next.
-
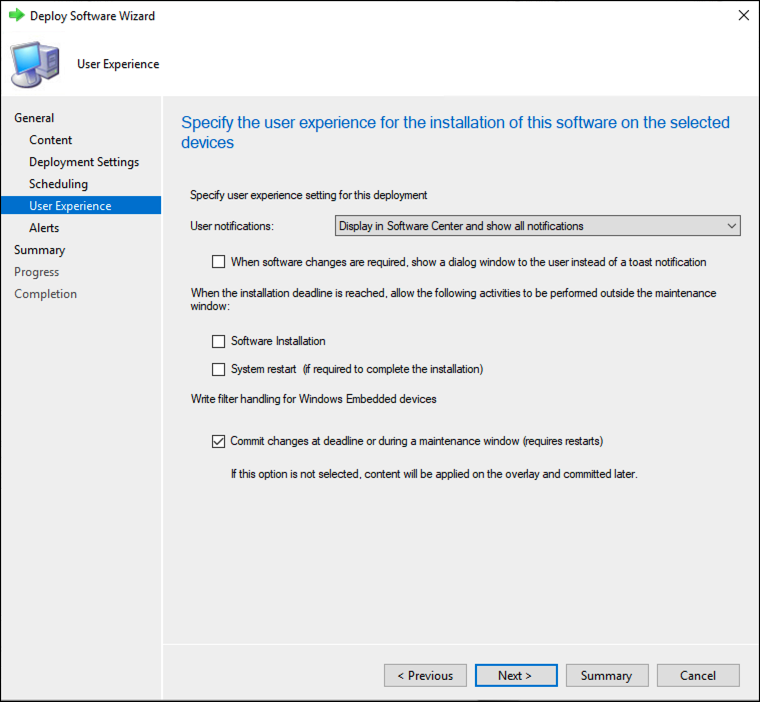
On the User Experience page, select the desired settings,
and then select Next.
-
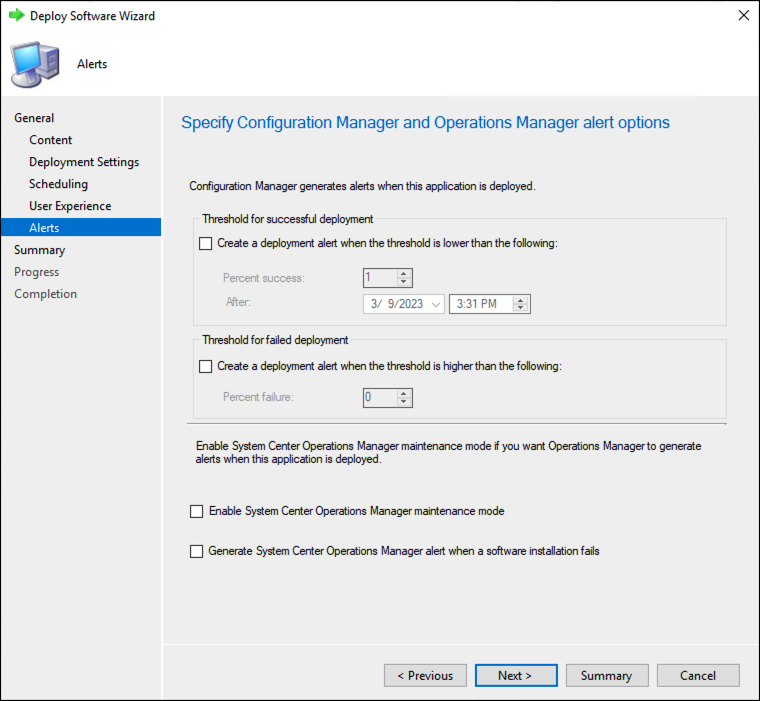
On the Alerts page, select the desired settings, and then
select Next.
-
On the Summary page, review the settings.
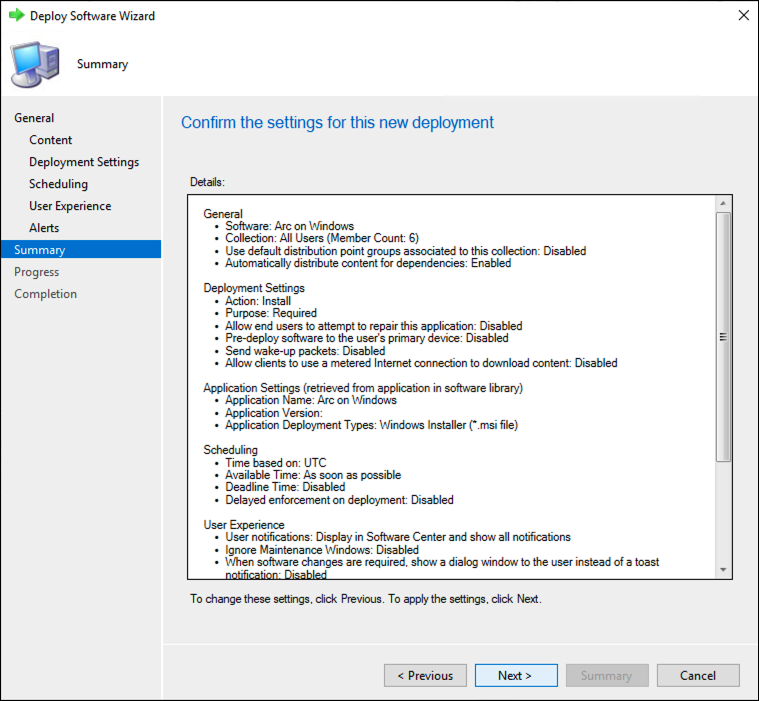
- If the settings are correct, select Next to start the deployment.