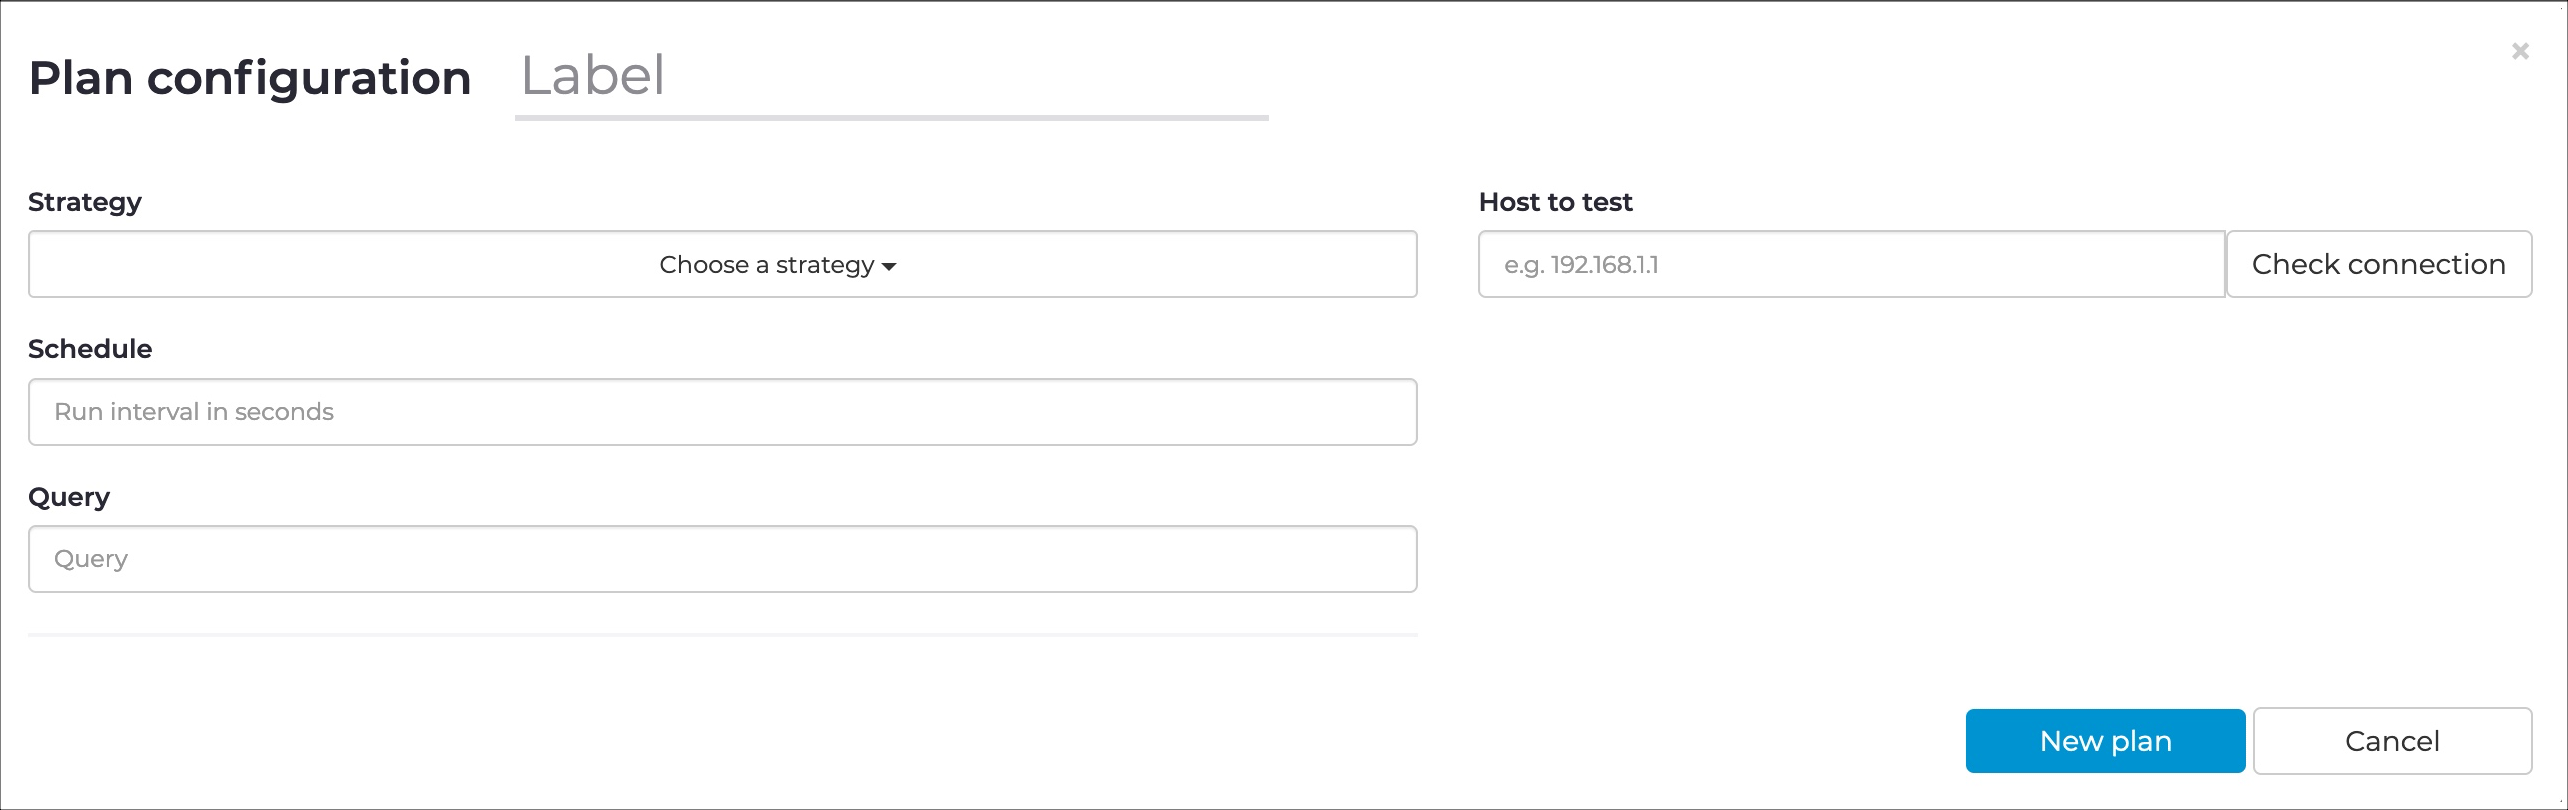
Create a Smart Polling plan
The Plans page lets you create a new Smart Polling plan.
About this task
Procedure
-
In the top navigation bar, select Smart Polling.
The Smart Polling page opens.
-
In the top right, select Plans.
The Plans page opens.
-
In the top right, select New plan.
A dialog shows.
-
In the Label field, enter a name for the plan.
-
In the Strategy dropdown, select a strategy.
Note:You can use the Credentials manager to add credentials to the nodes that the plan targets.
- In the Schedule field, enter a value (seconds) for the run interval.
-
If applicable, in the Target section, select an
option:
- Use identities
- Use query
- Optional: If you chose Use identities, choose the applicable credentials. To do this, select them from the list on the left and add them to the list on the right.
- Optional: If you chose Use query, the result of the query determines the list of node points. If necessary, use the Credentials manager to add credentials to the nodes targeted by the plan.
-
If applicable, from the Data to be collected dropdown,
select the specific items to collect for the selected strategy.
Note:The items shown are a generic list. The options available will vary depending on the specific target operating system (OS) version, or the local configuration.
-
Verify that Smart Polling can connect correctly to a given node.
- In the Host to test field, enter an internet protocol (IP) address of the node that you want to check.
- Select Check connection.
If the connection check is successful, a green tick will show. - View the results to determine if the Smart Polling plan is correct. You can also troubleshoot potential problems, such as incorrect credentials, or Guardian being unable to reach plan nodes.