Configure an Okta enterprise application
You can integrate Okta with Vantage. To do this you must create an enterprise application in Okta and assign users to it.
About this task
Okta groups are mapped to groups in Vantage using the group identifier. The group must exist in both Vantage and Okta and its Group ID in Okta must match its SAML Name or ID in Vantage. During authentication, Okta passes the Okta attribute statements defined for the authenticating user. Vantage ignores those for groups that don't match any of its own. For more details, see Group creation.
Procedure
- In the Okta Admin console, select .
- Select SAML 2.0.
- Enter a name such as Vantage
- Select Next.
- Enter the Single sign on URL that corresponds to the assertion consumer service (ACS) uniform resource locator (URL) for Vantage: https://YOUR_VANTAGE_URL/api/v1/saml/auth
-
Enter the Audience URI:
https://YOUR_VANTAGE_URL/api/v1/saml/metadata
The Audience URI is also known as Audience Restriction or SP Entity ID.
-
Define Group Attributes Statements.
Note:Vantage authentication relies on group attribute statements. You must create such statements for all group that are used for authentication. Users that belong to the group pass the statement you define. XREF
- After you have entered these values, confirm your choices and select Save.
- Assign users to the enterprise application to grant them access. For more details, see the Okta documentation.
-
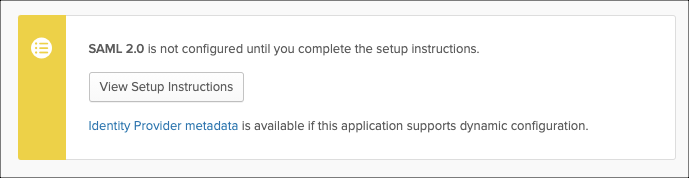
Download the Okta identity provider (IdP) metadata file.
-
Select the Identity Provider Metadata link.
-
Select the Identity Provider Metadata link.
- Save this file to a location that the browser that you use for Vantage can access.
- Configure Vantage for SSO.