Configure an Azure Active Directory enterprise application
You can integrate Azure Active Directory with Vantage. To do this you must create an enterprise application in Azure Active Directory and assign users to it.
Before you begin
- Be of type office 365mail enabled security or security
- Have the AuthNContext property set to trueNote:Users, guests, and applications contained directly in this group are granted access to Vantage. Azure denies access to users contained in the group's subgroups.
About this task
Procedure
-
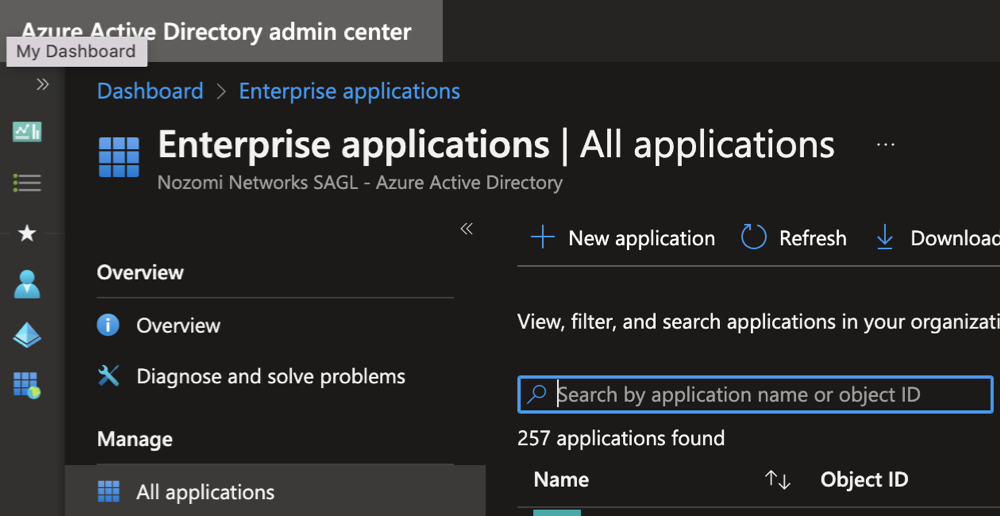
Select .
-
Select + New application.
A dialog shows.
-
Select Create your own application.
A dialog shows.
-
In the What's the name of your app? filed, enter a name
such as: Nozomi Networks Vantage.
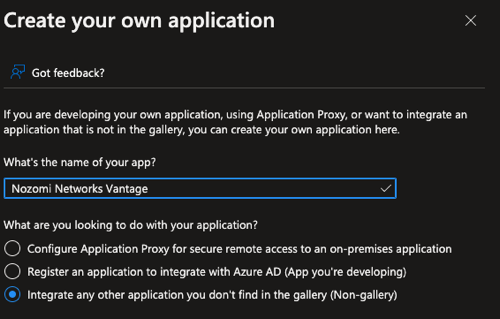
- Select Integrate any other application you don't find in the gallery (Non-gallery).
-
Enter any other Azure Active Directory details that are needed to complete the
configuration of the new application. Select
Create.
The application has been created.
- Open the application.
-
Select .
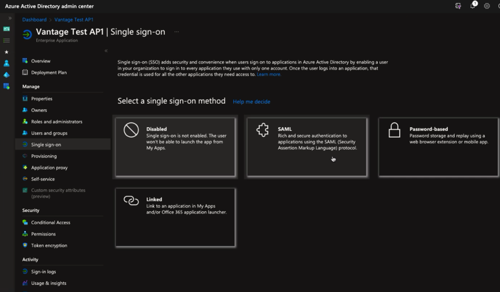
- Specify the Reply URL which corresponds to the assertion consumer service (ACS) uniform resource locator (URL) for Vantage: https://YOUR_VANTAGE_URL/api/v1/saml/auth
- Define the Entity ID for Vantage: https://YOUR_VANTAGE_URL/api/v1/saml/metadata
-
Configure attributes and claims, including group claims, so that Azure passes
group membership information to Vantage.
Note:Vantage authentication relies on user group claims. You must configure Azure to emit the security group IDs for the authenticating user. Vantage uses these IDs to determine group membership and grant access accordingly.
- Optional:
Upload an image to use as an icon in the security assertion markup language (SAML)
app.

-
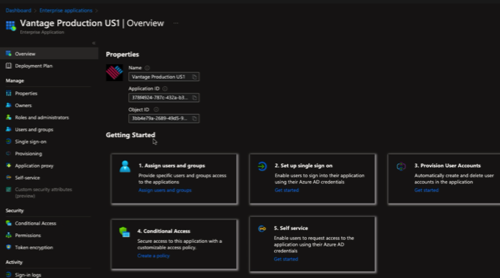
After the application has been configured, it will show in Azure.
-
Download the Azure Active Directory metadata file.
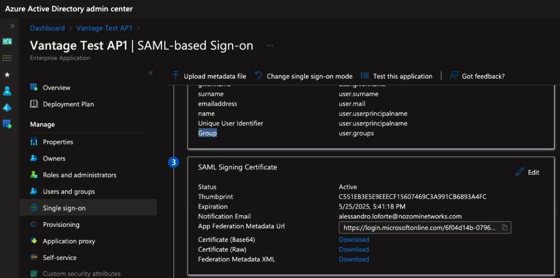
-
In the SAML Signing Certificate section, to the
right of Federation Metadata XML, select
Download.
-
In the SAML Signing Certificate section, to the
right of Federation Metadata XML, select
Download.
- Configure Vantage for SSO.