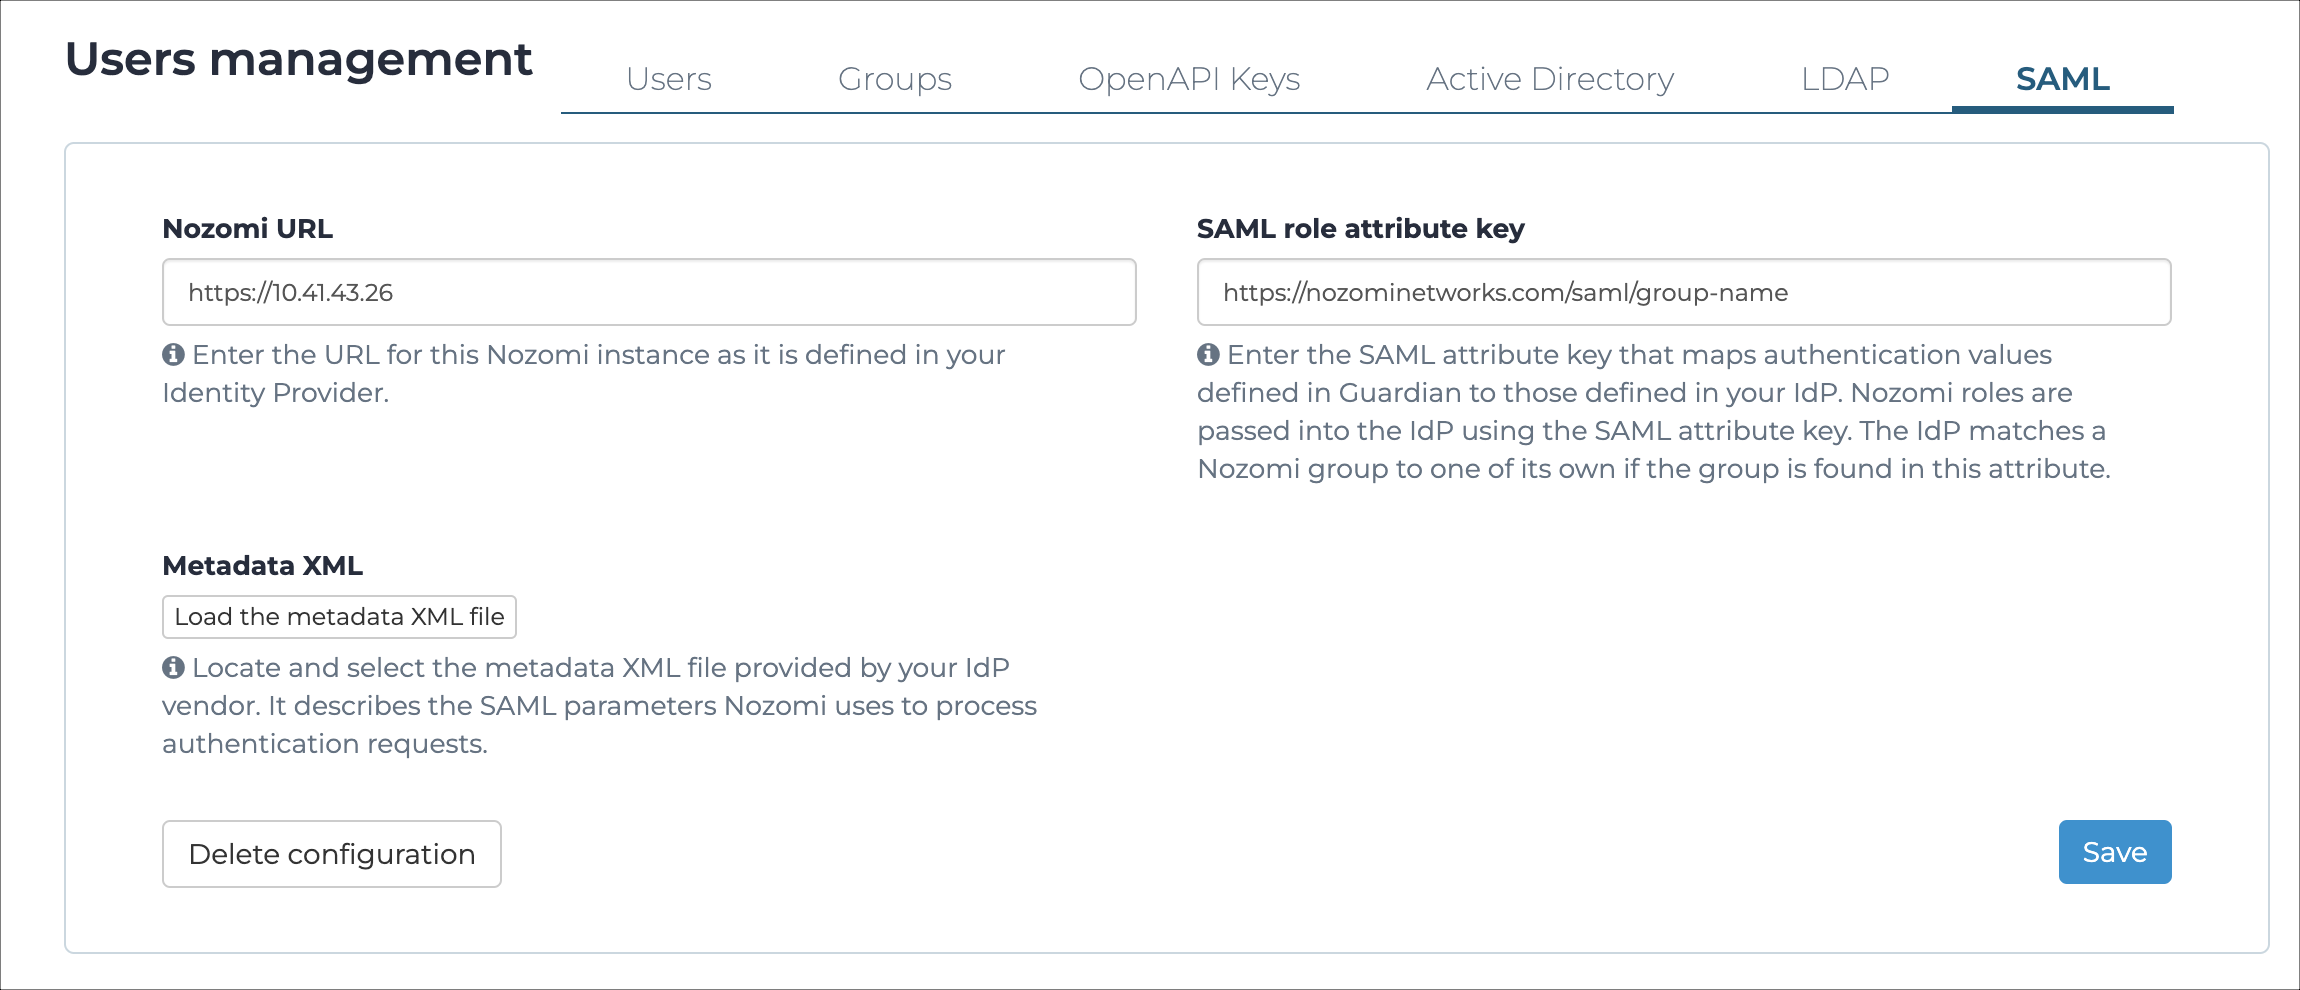
Configure SAML integration
The SAML page lets you add and configure security assertion markup language (SAML).
Before you begin
- The assertion consumer service (ACS) uniform resource locator (URL) for Nozomi Networks. An ACS specifies the /auth path such as https://10.0.1.10/saml/auth
- The issuer URL for your IdP, which specifies the /saml/metadata path, such as /saml/metadata. This value depends on your IdP
- The metadata eXtensible Markup Language (XML) file that describes the security assertion markup language (SAML) parameters of your IdP. Before configuring your sensor, download the file from your IdP vendor and save it to a location accessible to Nozomi Networks
About this task
Note:
You can configure a mid-level Central Management Console (CMC) as IdP. For more details, see Configure identity provider. You can download the metadata from
https://<address>/idp/saml/metadata, where
address is the internet protocol (IP) address of
the CMC that is configured as IdP.
Procedure
-
In the top navigation bar, select The administration page opens.
-
In the Settings section, select
Users.
The Users management page opens.
-
In the top right section, select SAML.
The SAML page opens.
-
In the Nozomi URL field, enter the URL for your Nozomi Networks instance.

-
In the SAML role attribute key field, enter a string
that will be used to map role names between the sensor and your
IdP.
Note:Note:After you insert the URL in the IdP URL field, a Open metadata page hyperlink will show. This will open a new page that contains the metadata you can use in the downstream sensor. The metadata will be only be available after you save the configuration.
- Select Save.
- On the sensor login page, select Single Sign On.
- To test the integration, use the credentials from your IdP.