Configure the application
Learn how to configure the Nozomi Networks integration within ServiceNow, including setup, connection parameters, and testing configurations, to ensure seamless vulnerability management. Follow these detailed steps to establish and verify connections with your Nozomi Networks platform.
Before you begin
About this task
To make sure that you get the most accurate information, Nozomi Networks recommends that you populate the Common Vulnerabilities and Exposures (CVE) library before you import Nozomi Networks data.
For more details about the Vulnerability Response Integration with NVD, see the ServiceNow documentation.
Procedure
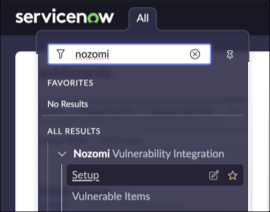
- Go to ServiceNow.
-
Go to
-
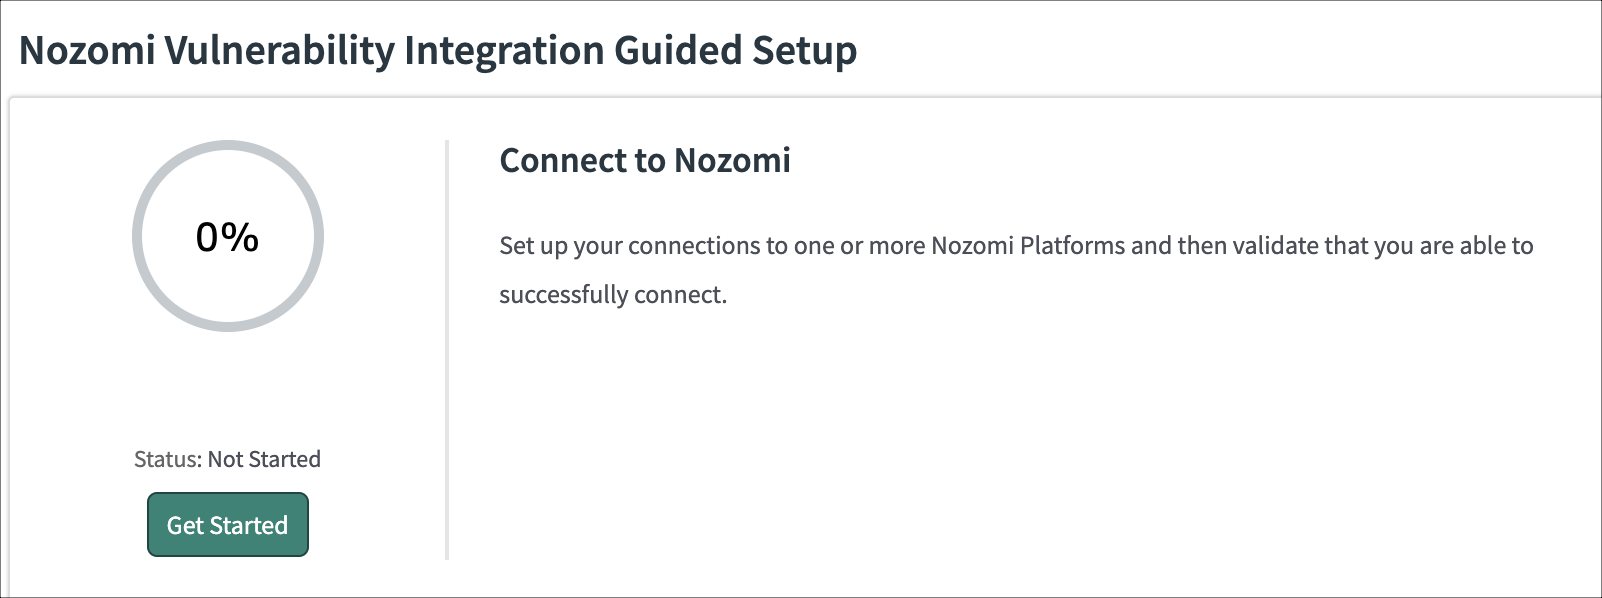
In the Connect to Nozomi section, select
Get Started.
-
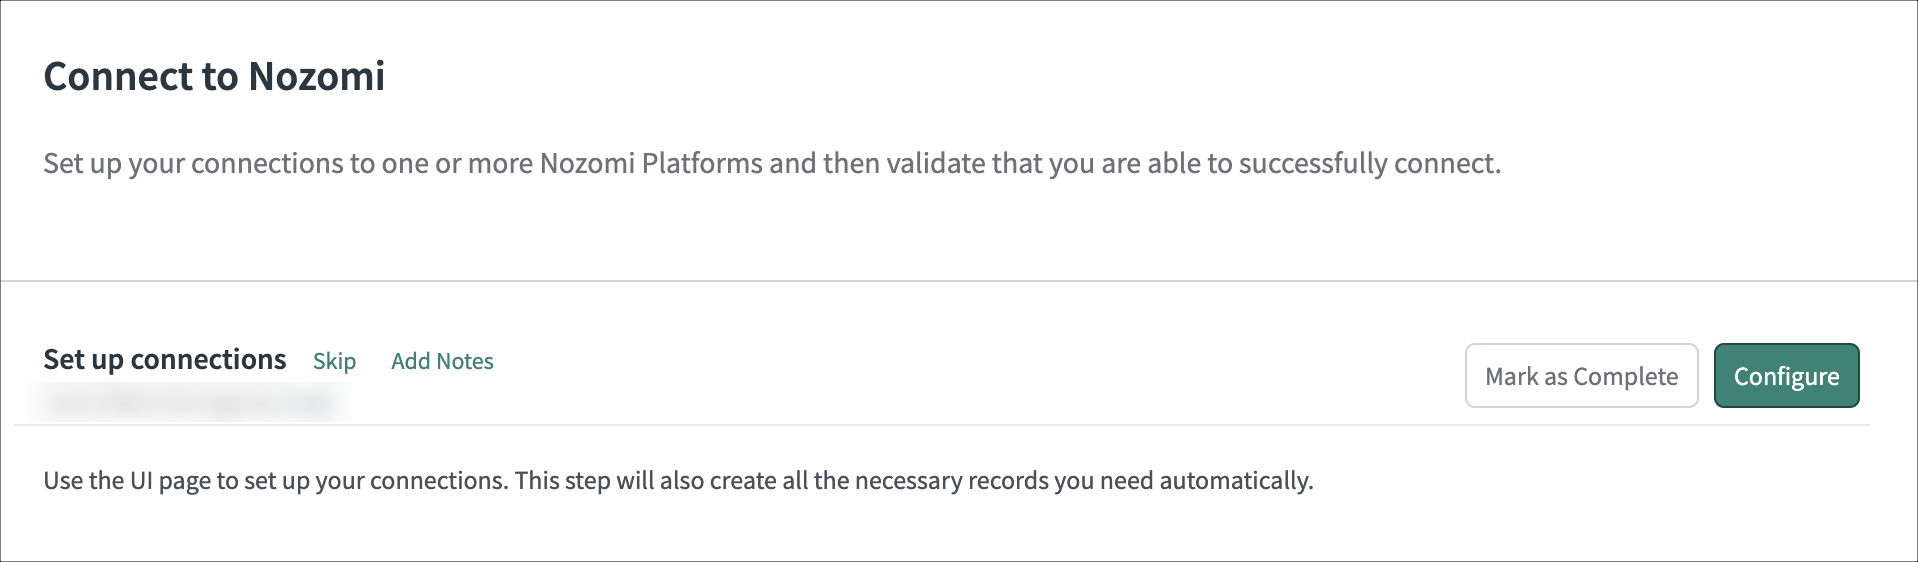
To the right of Set up connections, select
Configure.
-
Enter the applicable details.
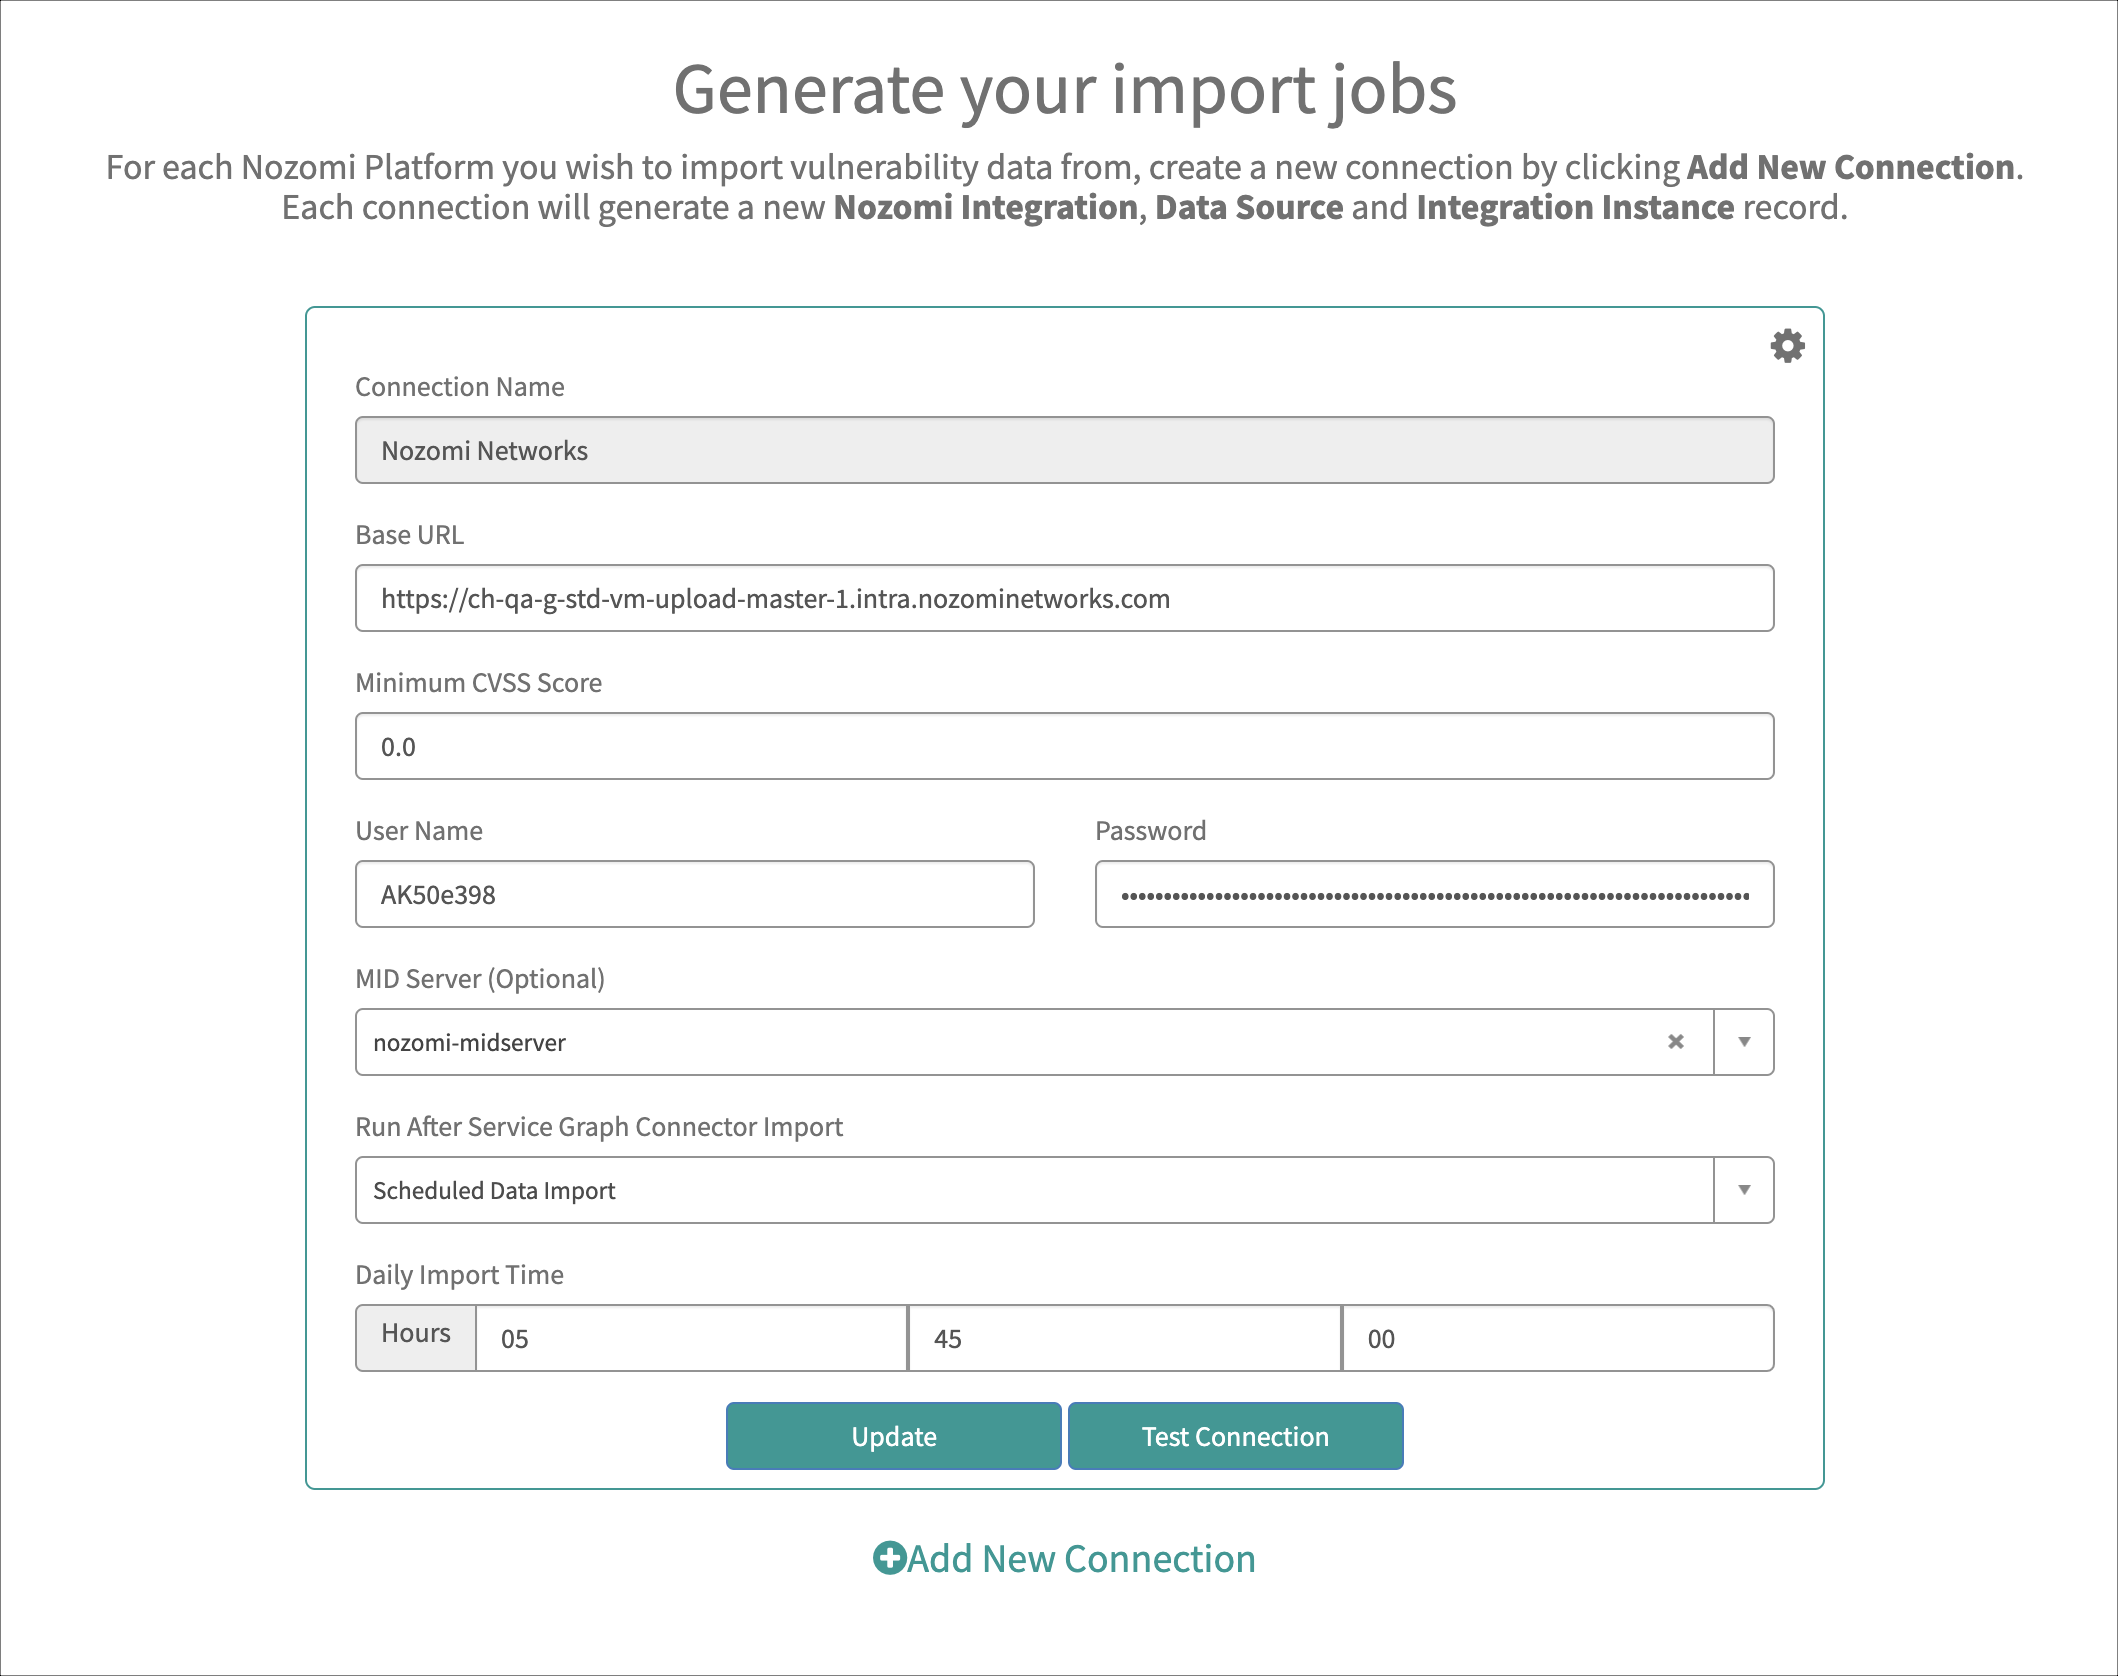
The Connection Manager lets you connect one or more Nozomi Networks platform instances. By default, a single connection exists that is named Nozomi. You can add additional connections to other Nozomi Networks platform instances as required. Each connection has the following parameters:- Connection Name
- Base URL (of the Nozomi instance)
- Minimum CVSS ScoreNote:This specifies the minimum threshold, inclusive of vulnerabilities, that will be imported. For example, if set to 8.0, only vulnerabilities with a Common Vulnerability Scoring System (CVSS) of 8.0 or higher will be imported
- User Name
- Password
- MID server (Optional)
- Run After Service Graph Connector Import
- Daily Import Time
-
To verify the parameters that you have entered, select Test
Connection.

If the test connection is successful, you will see the Test Connection button temporarily show Results: 200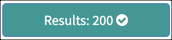
- Optional: Add additional connections.
