
Add a Smart Polling plan that does not require credentials
Create a Smart Polling plan in Guardian for targets that do not require credentials. Define the query, configure the schedule, and complete the setup.
About this task
Use this process to create a Smart Polling plan for devices or systems that do not require authentication. This method lets Guardian collect data from non-credentialed targets using a query-based selection. You can configure the schedule of the plan to suit your operational needs.
Procedure
-
In the top navigation bar, select
 > Smart Polling.
The Smart Polling page opens.
- If the welcome page shows, select Go to the Smart Polling page.
-
On the Smart Polling page, select the
 icon.
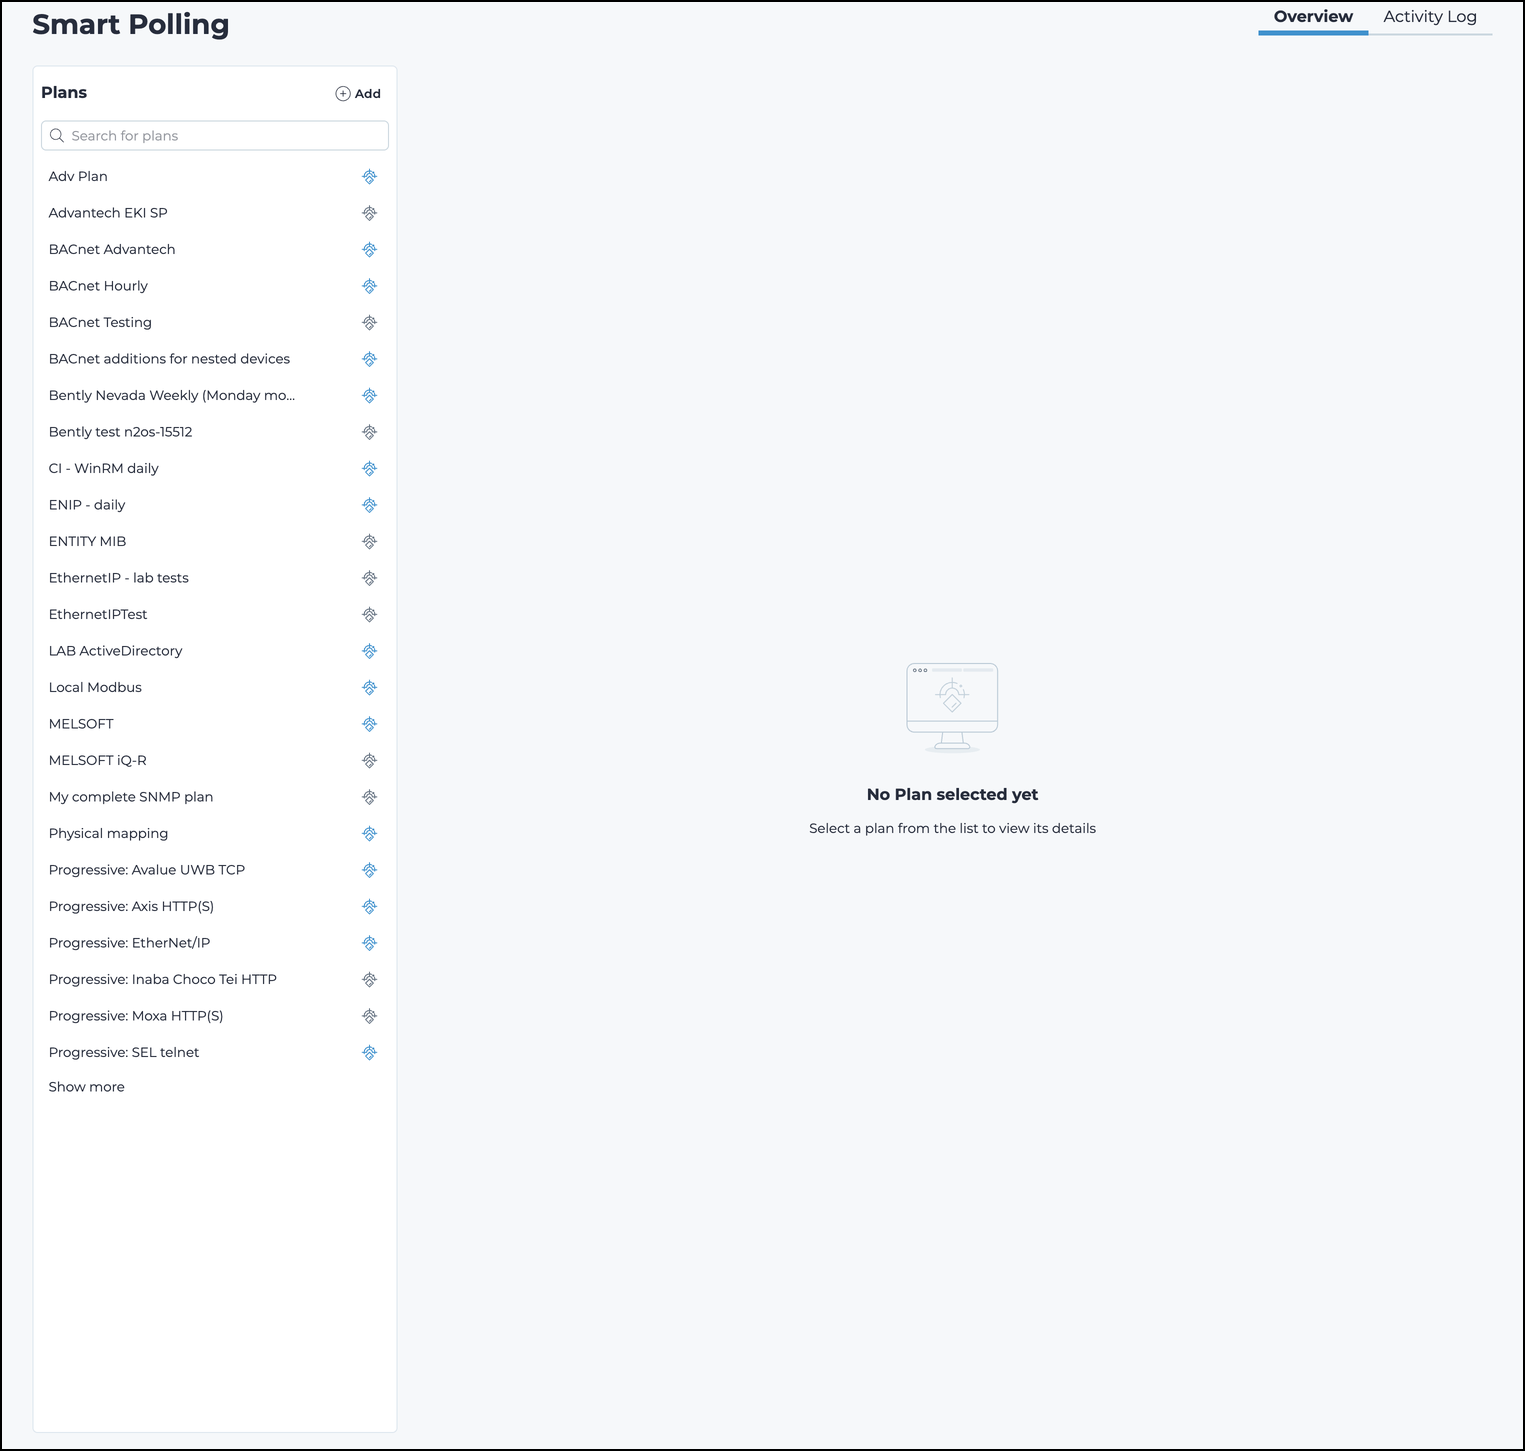
The Choose the Strategy page opens. - Optional:
To find the correct strategy, enter text in the Filter
strategies field.
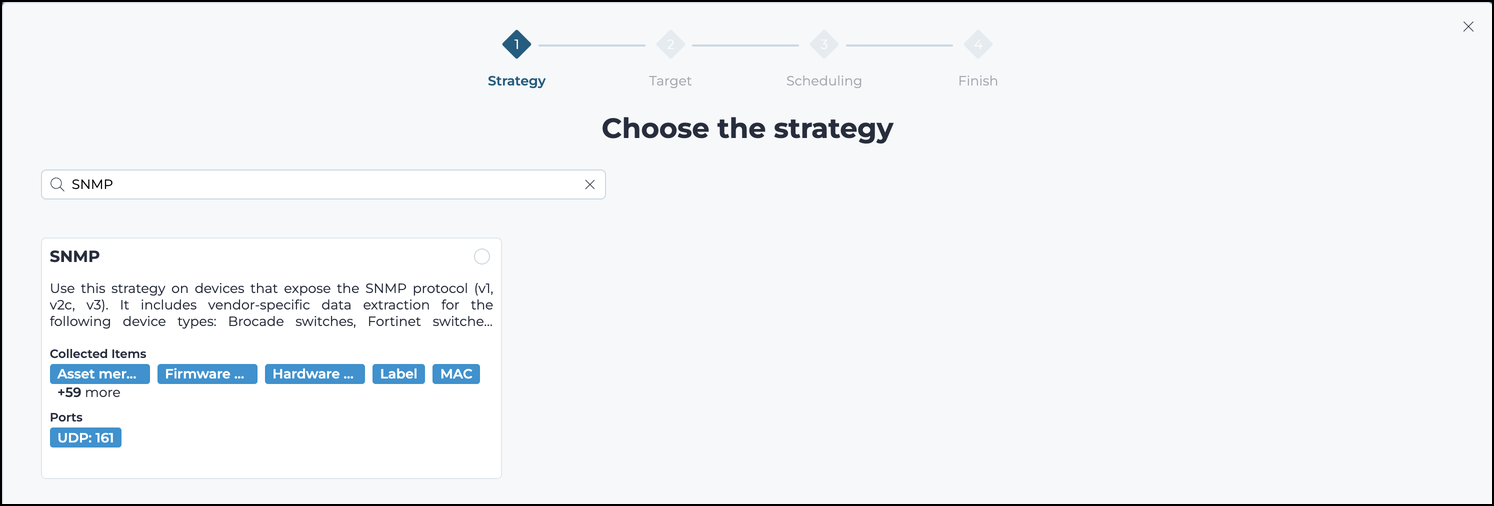
-
In the top right corner of the relevant strategy, select the radio
button.
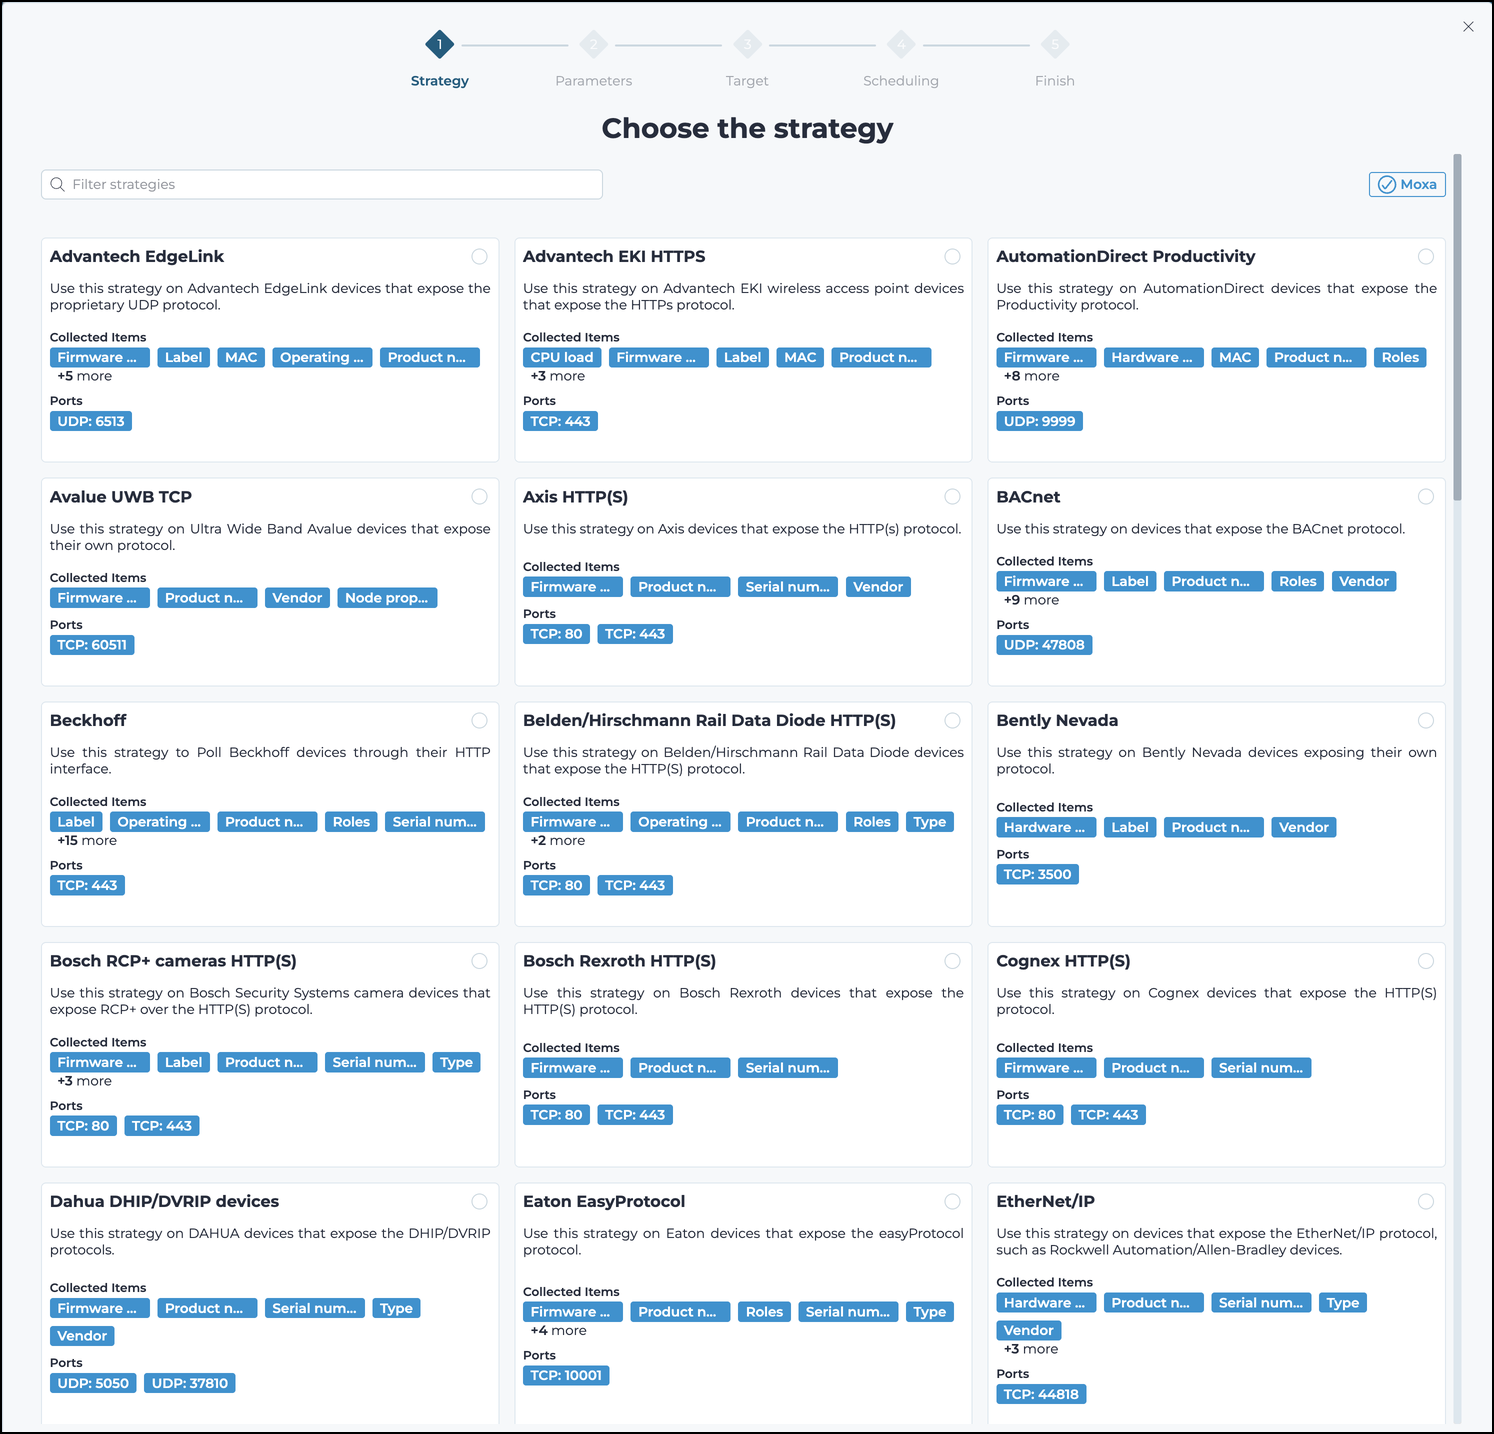
-
Select Next.
Either the Parameters page or the Target page will show.
- Optional:
If the Parameters page shows, enter the necessary details.
Note:Smart Polling proposes a safe default for each of these parameters. Unless you have specific requirements, we recommend that you use these parameters.
-
Select Next.
The Target page will show.
-
In the Target nodes with a query section, enter a
query.
For example,
nodes | where ip in_subnet? "192.168.45.0/24"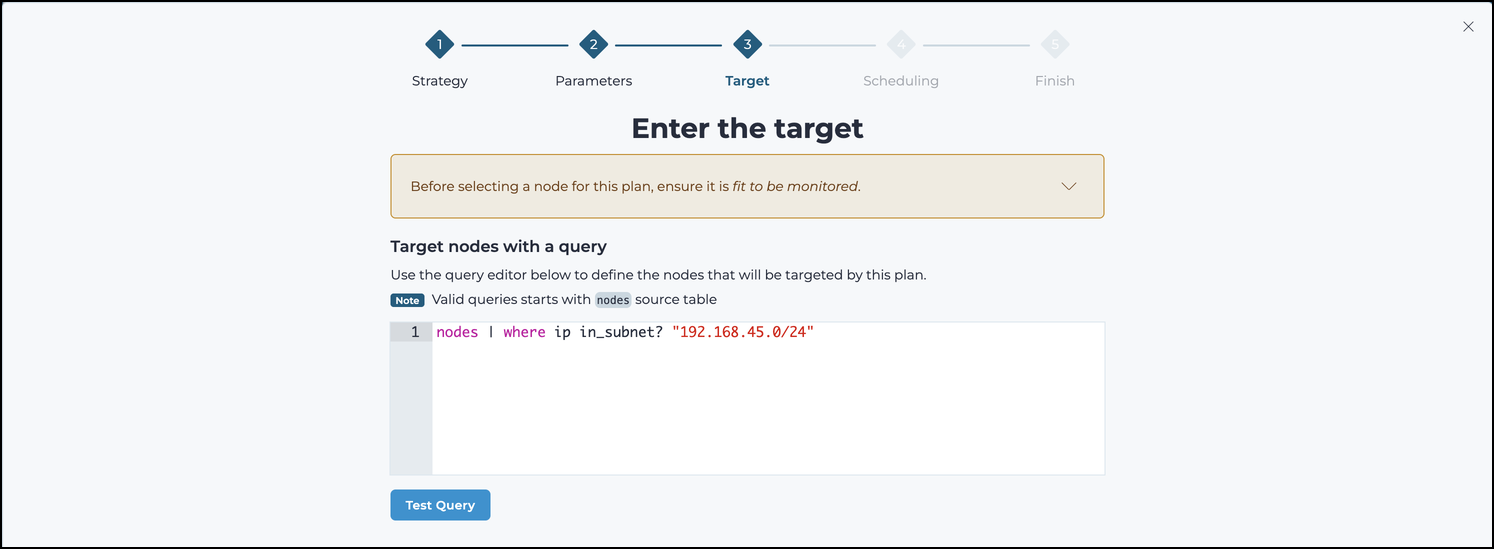
-
Select Test query.
If successful a Success indicator and the amount of nodes found will show and the Next button will be enabled.
-
Select Next.
The Scheduling page will show.
-
On the Scheduling page, under Recurrence,
select the granularity of the scheduling:
- Hourly
- Daily
- Weekly
- Monthly
- Set the time at which the Smart Polling plan will be executed. The time is set in .
-
Select Next.
The Finish page will show.
- Optional: In the Plan name field, edit the name of the plan.
- Select Confirm.
- Select Done.